by Sherri Sylvester | Sep 3, 2012
This is a pillow that I made out of a XL Men’s dress shirt. It was not large enough to fit across the whole width of the pillow. So I added in 2 side strips and used white piping that I had laying around.

The back of the pillow also has the side strips. I used the front of the men’s shirt with the buttons still attached to make the centre portion. That way you can take the pillow out to wash the cover.
by Sherri Sylvester | Aug 30, 2012
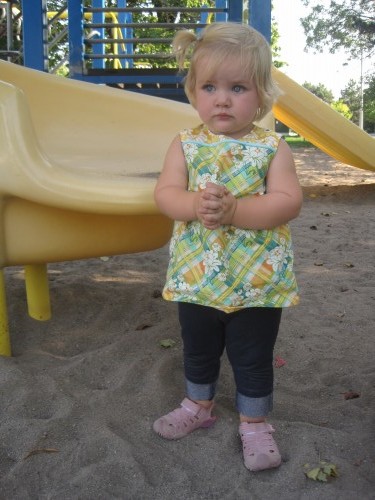
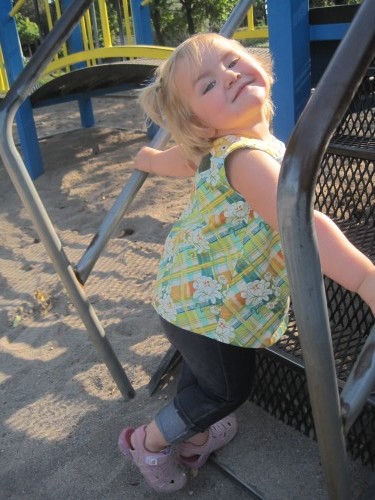
I liked this shirt I made on Monday night so much I couldn’t wait to make another one.
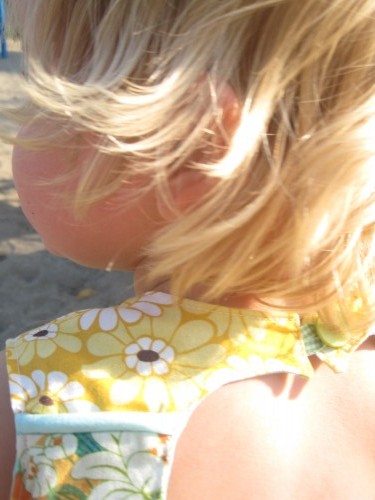
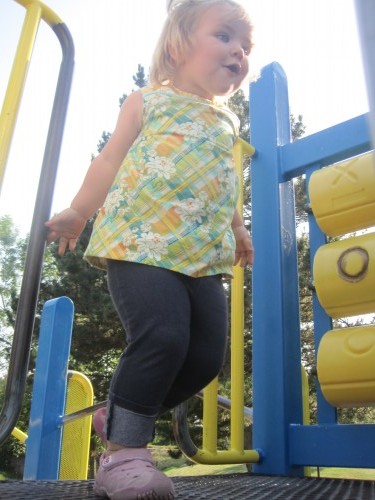
I have had this fabric for a while and was waiting to make something for my youngest with it. I think the colours look so cute and summery.
I got to use my glue stick again (it works so well!). The piping was a breeze to put on, I glue-sticked (glue-stuck?!) it to the fabric on both sides, used my zipper foot and sewed one 3/8″ seam across. It came out perfectly! I am never going to be afraid of piping again. Hooray! I love the decorative, “store-bought” finishing touch that it adds.
I also got to use my new long labels that I made a while ago, along with some labels that say “size” which I sewed on the inside-back. Write the size on in fabric marker and heat set it before sewing them in. There are a lot of handmade clothes from when my oldest was tiny, and I have no idea what size to even guess they are. This makes it a bit easier. You could even use a piece of plain ribbon with a number on it.
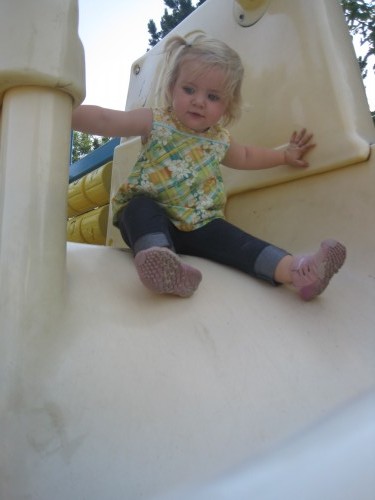
She’s really not this serious… pretty well never!
Someday I am going to try this. Seems like it would be the best idea yet. Of course if someone were to donate a bunch of free number sized woven labels in my direction I would not object about that either! Oh – and if they could throw in some Thread Riding Hood ones that would be great too!
Anyhow – in case you are wondering (or not) the fabric used is as follows: Front and back yoke are Central Park by Kate Spain for Moda Fabrics. The bottom is Michael Miller Peony Plaid in Lime, it is the Meadowsweet line designed by Sandi Henderson. I think it is discontinued but I found it here on etsy.
Posing already, at two years old! The things she learns from her older sister…
I am thinking about making a full length dress version, and maybe one with sleeves for winter… but there are so many unfinished ideas… maybe next summer?! We’ll see. My oldest has already decided what she wants to be for Halloween and I’m sure the end of October will come much more quickly than I am ready for.
by Sherri Sylvester | Aug 28, 2012
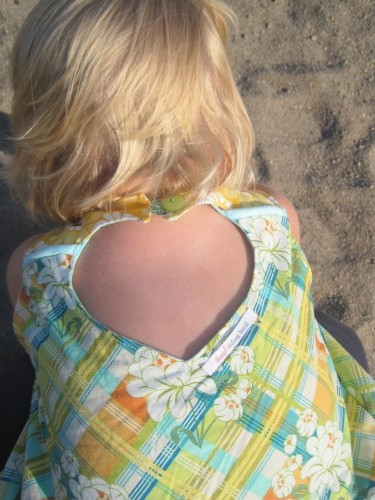
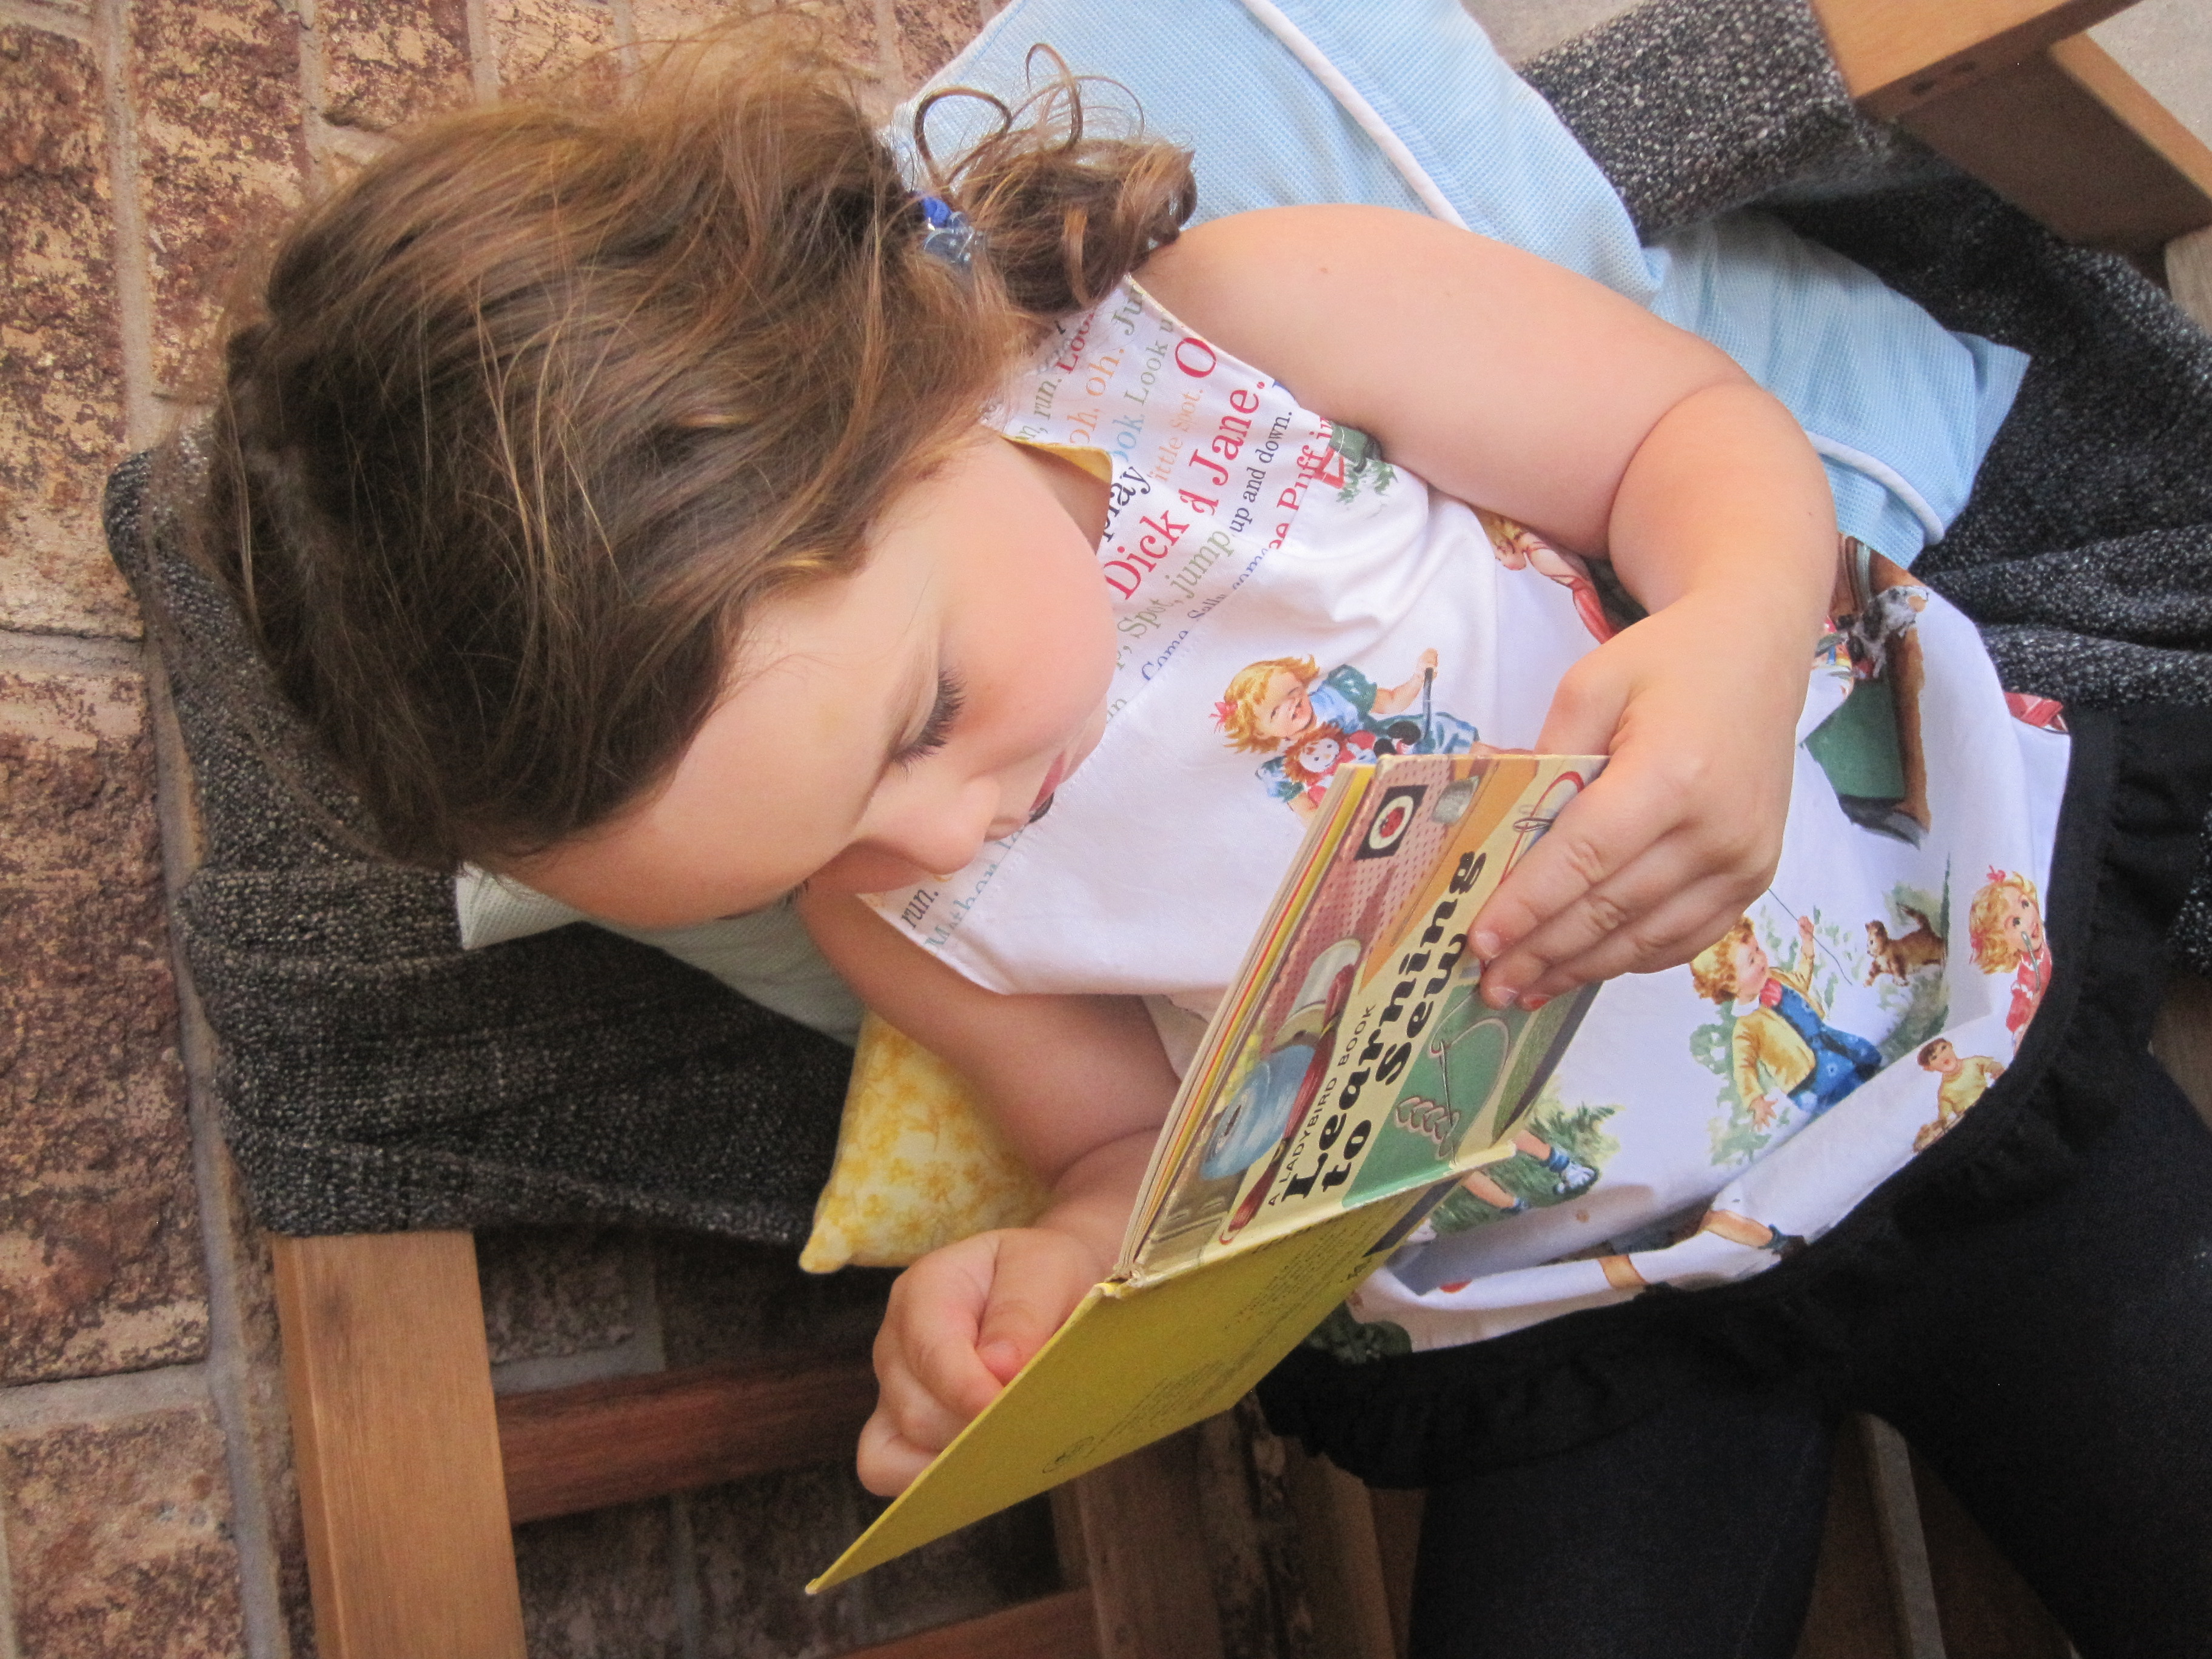
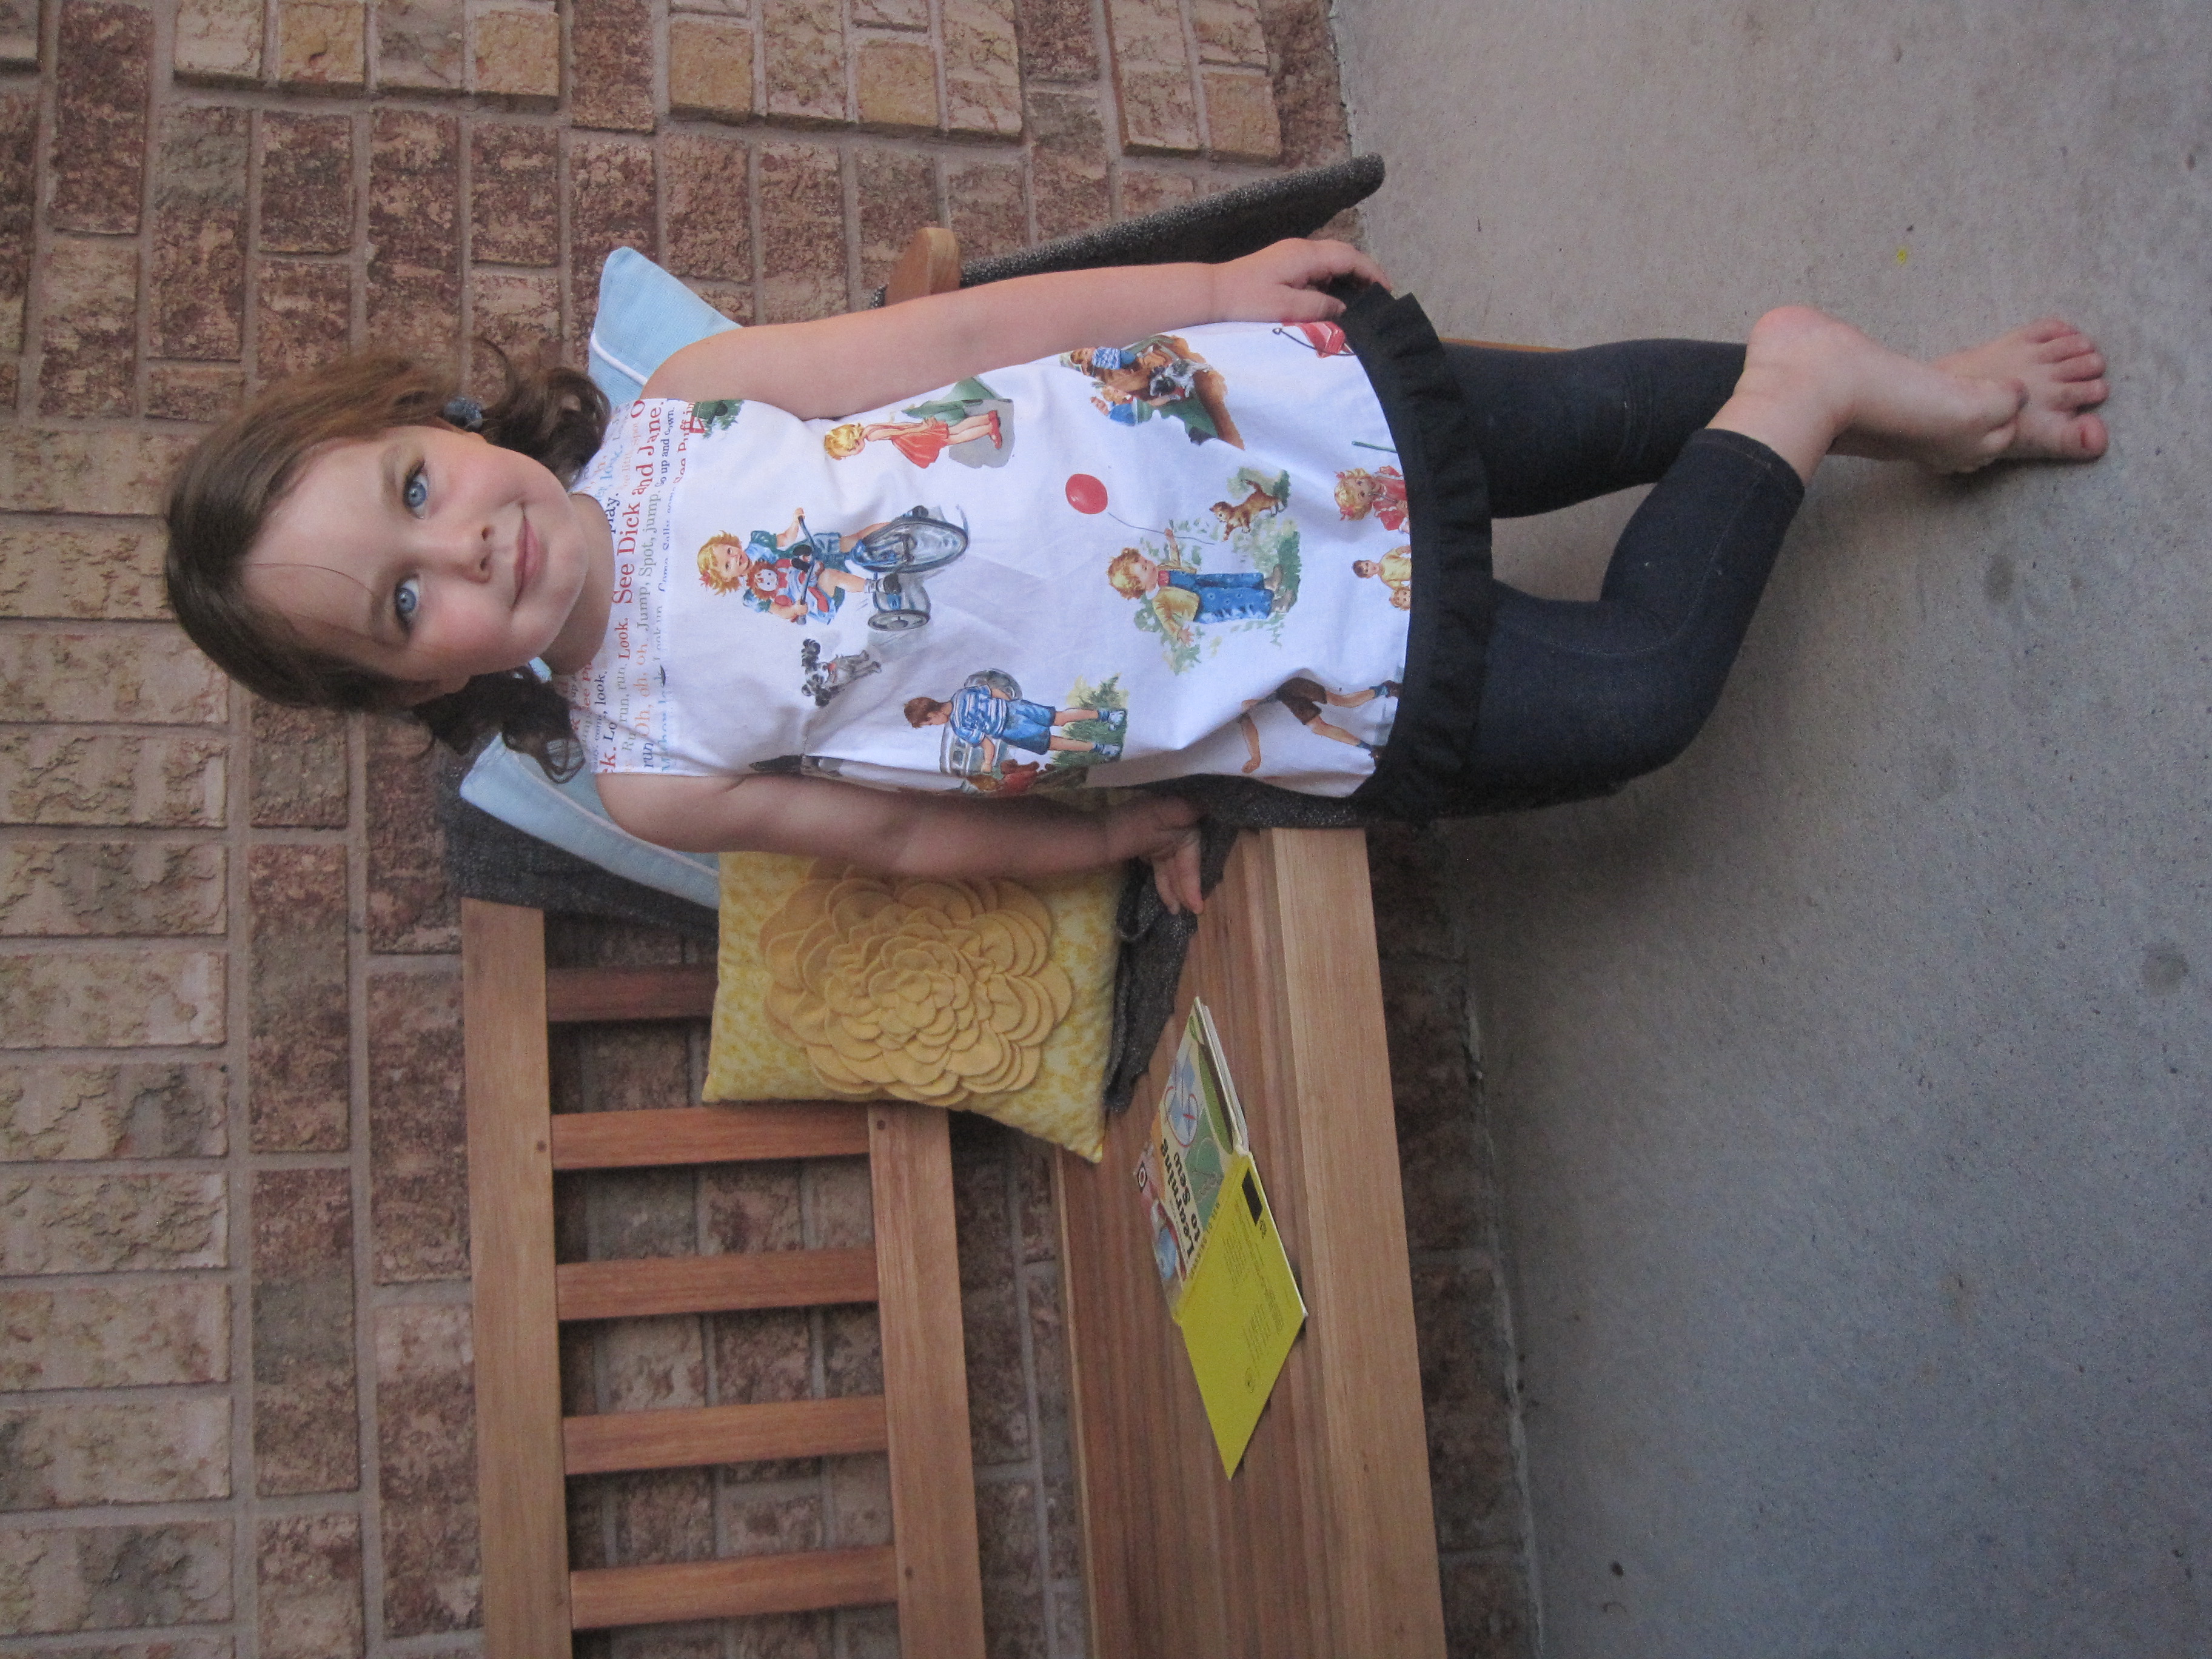
I’m super excited about this shirt. Or, as my daughter would call it – a shirt-dress. The shirt-dress was inspired one day when I was trying to get her to wear something other than a dress. So far it has stuck, if the shirt is longer than mid-hip or so and has a bit of ruffle!
Matt calls it a Frankenstein shirt. This is because I happened to say that the shirt idea came from three different places – one of my favorite blogs – Noodle-head – for the tunic length inspiration, a Sew Can She email tutorial by luvinthemommyhood and a free Burdastyle pattern that I use a lot.
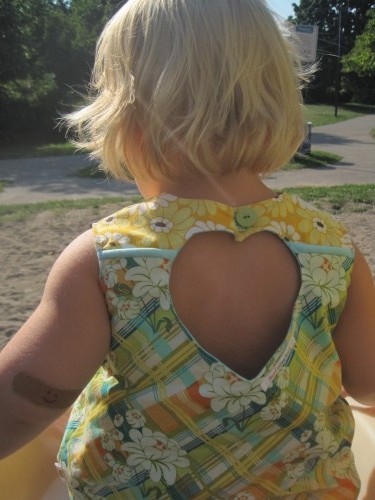
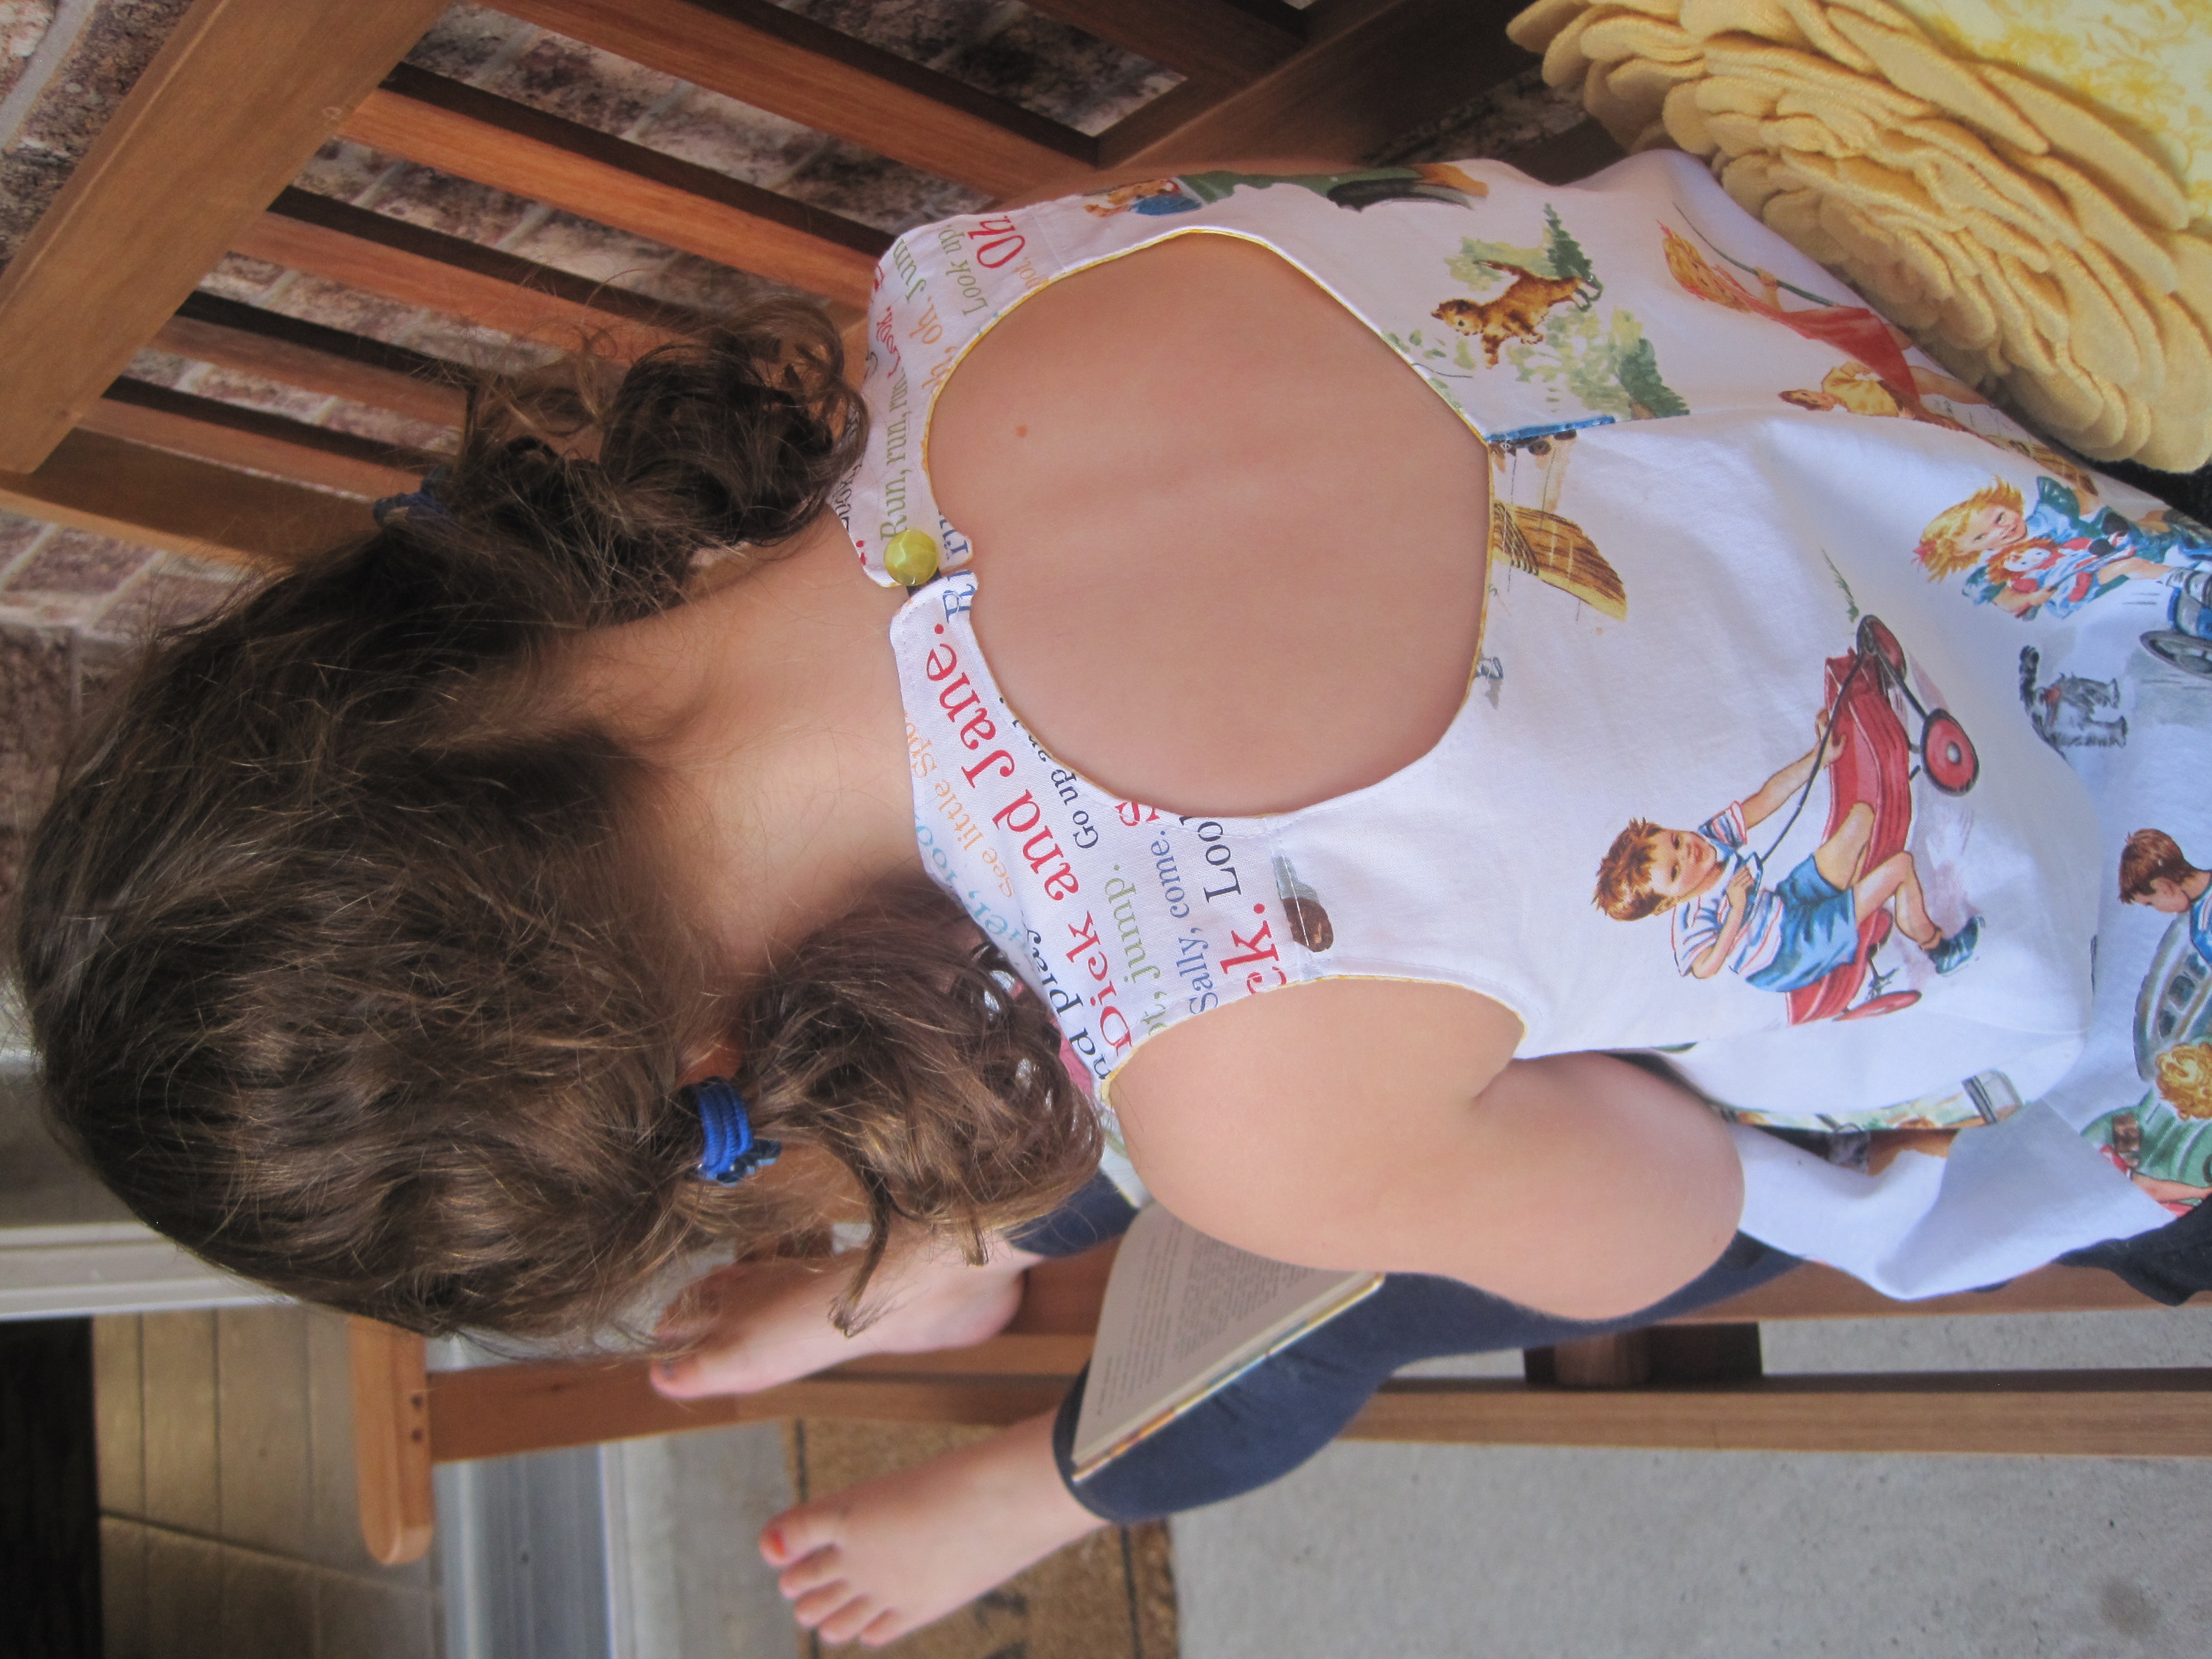
This super-cute back is heart shaped and from the luvinthemommyhood tutorial. She also includes a really good tutorial on how to line the bodice of a shirt/dress without handsewing.
The material is from one of my favorite sewing stores near me Ruti’s Needlebed. I bought it when my parents were here and finally found the perfect thing to make with it. As far as the Burdastyle pattern. I have modified it so many times and it always turns out cute. I have made it out of knit, terrycloth (for art smocks) and also quilting cotton.
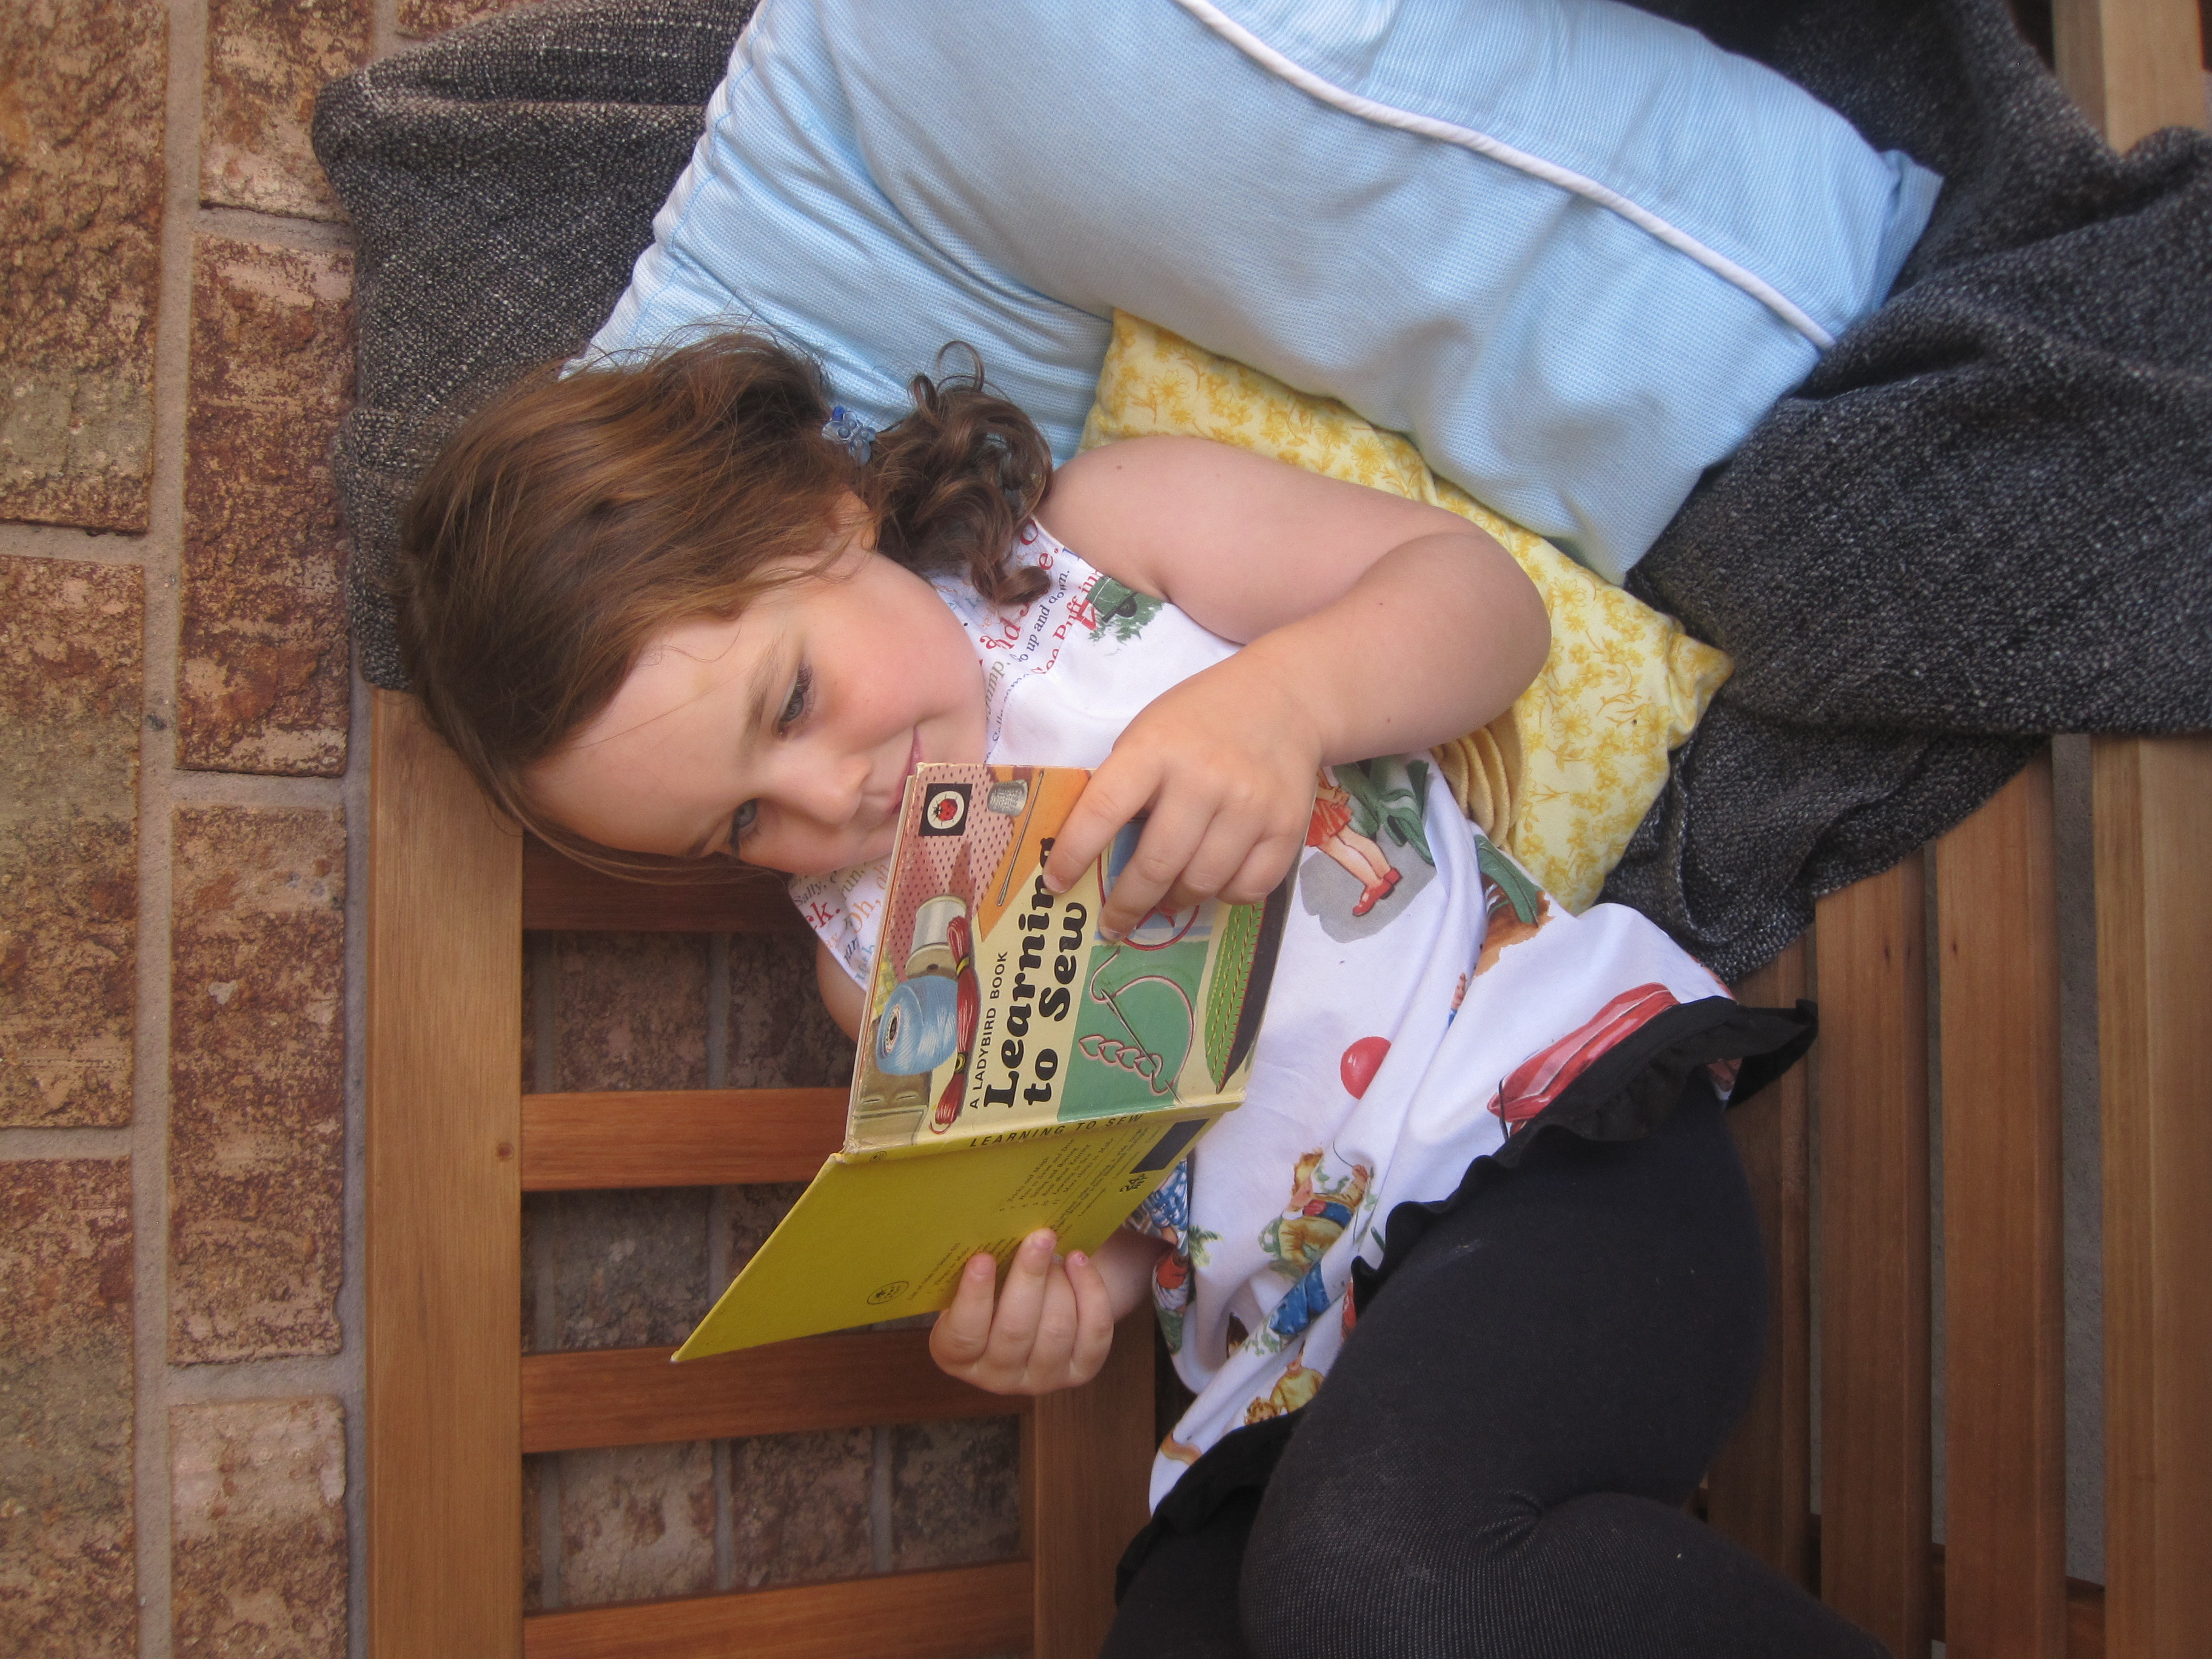
I think the Dick and Jane fabric makes the perfect shirt for a little girl who is just learning how to read.
by Sherri Sylvester | Aug 25, 2012
If you are looking for a quick and easy way to make a tote-able towel, you are in the right place. This pattern has been tested (many times) and got better with each try. They are super-useful and help little ones to carry their own swim gear, and big ones to free up their hands for when they are inevitably needed!
First thing, I based this on this tutorial by Anna Maria Horner, here. I intended to follow her tutorial to make take-away gifts for my daughter’s birthday pool party. I made a test towel and realized that I would not have enough time to make the 8 towels necessary if I followed her instructions. Especially since I had procrastinated beginning them in the first place (as usual)! I have re-vamped the method to be a lot faster, but still kept the same basic idea. I can make 2 of these in 1 hour, much better than the 2 hours it took me to make the first one! Here you go.
You will need:
- A bath or beach size towel
- 1/2 metre matching fabric (or 22″ – just over 1/2 yard)
- Matching thread
- Your favourite sewing gear (includes a ruler, iron and a piece of paper & pen)
1) Wash and dry your towel and fabric before you begin to pre-shrink them. Iron the fabric.
2) Determine the width of the 2 rectangles (front and back). Measure across the short end of your towel (call that “W”). Divide W by 2, now add 1″ for your seam allowance to make “X”. That number – X – is the width of your front and back rectangle. Example: My towel is 27″ wide, divide 27″ by 2 = 13.5″, add 13.5″ + 1″ = 14.5″. My X (or width) was 14.5″.
3) Phew! Trust me – that math is the hardest thing about this tutorial!
4) Cut your fabric as follows:
- 2 pieces (for the front and back) that are X wide (see above) by 5.5″ high.
- enough 4″ wide pieces of fabric to make 1 piece 60″ long x 4″ wide for the straps
5) Decide which of your two rectangles will be the front and back. Fold your “front” rectangle in half and iron it lightly to find the centre of the long side. Unfold.
6) Place your back and front rectangles right sides together. Lay them on the table with the front rectangle on top. Grab a ruler and place it along the top edge of the front rectangle. Using a remove-able marker, mark 3″ from the centre (the line you just ironed in step 5) on either side. Make another mark 1″ over from the first one. See the photo.
7) Pin and stitch along the top edge of the rectangles using a 1/2″ seam allowance. Do not sew between the 1″ spaces you have marked. I have drawn the stitching in red in the photo so you can see it better.
8) Press your seam open.
9) Fold 1/2″ under all around the edge of your newly made larger rectangle. I do this using a trick I learned from The Scientific Seamstress. She uses paper templates when she is ironing to make sure the width is correct. She provides downloadable pdf’s that have the lines on them here. I just use a piece of cardstock and draw my own lines. I find it super helpful, especially if you like to be exact.
10) Here is the piece, all folded around the edge. Put this aside. Now we make the straps.
11) For the straps you are basically making 1″ wide double fold bias tape – but it is not cut on the bias. Sew all of your 4″ pieces end to end until you have one large 4″ wide by aprox. 60″ long rectangle (A). Fold your long rectangle in half length-wise and iron (B). Unfold this and fold each edge into the centre and iron (C). Now fold that piece in half and iron again (D).
12) Topstitch close to each edge of your 1″ not-on-the-bias tape straps. Run out of thread 3″ from the end of topstitching both ends, but don’t realize it and think you are done. Find out and get mad at your machine. Un-thread the top of the machine, fill the bobbin, re-thread the machine, finish your stitching. Oh wait – that was just me! Anyhow, continuing on…
13) Put your pieces aside. Grab your towel and figure out which side is the front, or “right side”. Mine had a hem at the bottom and top so it was easy to figure out. If you don’t know, just pick one. Chances are no one else will know either! Lay out your towel “right side” up on your table with the short end facing you. If you have a fancy embroidered section on the towel flip it around. You want to sew the handles opposite that end.
14) Find the centre of your towel and place the front of your double rectangle on it, as in the photo. Pin.
15) Get the 60″ long strap and cut a piece 10″ long for the short handle. Place one end of the 10″ handle into the first “space” you left when you stitched the rectangles together (A). Fold a nice crisp 45 degree angle across (B). Place the other end of the rectangle into the second space and fold it over to create a second angle (C). Here is another view (D). Pin both sides once you are happy with your angled edges.
16) Now you can pin on the long strap. Measure in 1″ from the corner on the opposite side of the rectangle from where you placed the handle. Insert your strap and pin. Make sure not to twist the strap and repeat for the other end.
17) This is what your pinning should look like now. I have marked where you will be sewing in red – see next step.
18) Topstitch around the front rectangle (see above photo) using a 1/4″ seam. I used the edge of my presser foot as a guide.
19) Flip your towel over and note where your stitching is (first photo). Fold the “back rectangle” up and over the stitch marks and pin it onto the towel (second photo). Make sure your pin ends are far away from your fabric because you will be sewing this on upside-down. Also, make sure the edges are at least 1/4″ away on all sides from the stitching that you just finished, otherwise you will not catch these edges in the next step.
20) Flip your towel over again so the front side is up and add in your label or a cute piece of ribbon (I glue-sticked mine in to hold it instead of using pins). Also make sure that the front edges are still flat. I had some that got caught in the pins coming through from the back and had to fix them.
21) Make a new line of top stitching 1/8″ away from the edge, following the same line you just sewed around the front rectangle. You are still stitching with the front rectangle facing up so that the topstitching looks tidy when you are finished. Unless you are feeling adventurous and have lots of extra needles hanging around I would recommend slowing down when sewing over your pins. This extra line of top stitching also sews through your straps again, so there is no need to go back and double-stitch over the seams to secure them better.
22) Check the back to make sure you caught all of the edges in your stitching. If not, go back and sew another line of stitching to catch them. Always topstitch from the front. It is the side that will show the most.
23) Almost done! Fold it up and you are ready to go. First, fold the bottom of the towel up to the bottom of the fabric and put your swimming gear (or wet bathing suit) onto the towel (A). Now fold both sides of the towel into the centre (B). Roll your towel up to the short handle (C). Put the long handle through the short handle and you are done! (D)
24) HOORAY! Now, carry it somewhere. Go swimming, go to the splash pad, hey – even out in the sprinkler to get wet and use your fancy Speedy Tote-able Towel!
Okay folks – since this was my first full tutorial, I hope I was clear with the directions. Please let me know if you have any questions. Leave a comment or an email (my address is at the bottom of the About page). Thanks!
Update: I have since posted a free printable tag with the directions for folding the towel – click here.
by Sherri Sylvester | Aug 20, 2012
This is the beginning of a series I am going to call “Made by Me Monday”. I enlisted the help of my wonderful husband (who thought up Thread Riding Hood) to find a better option, but we are stumped.
On Mondays (not necessarily every week), I will post something I have made in the past with links to the tutorial I used for it or maybe some quick instructions, or maybe just a lot of photos – depending on the complexity! I thought it might be a fun way to recommend tutorials I have found useful, and to document some of the things I made before I started this blog.
So – here it is, the very first “Made by Me Monday”.
The Yellow Petal Pillow
I used a tutorial found here by Cluck Cluck Sew. It really is as easy as she says it is to do this. It took me a bit longer than her suggested half an hour – but I am a bit of a perfectionist! Instead of buying felt I made my own felted wool. It is really easy and super cost effective if you are okay with finding a thrifted 100% wool sweater. I found the yellow XL 100% Merino Wool sweater for about 6 bucks. Once you have your sweater, throw it through your washer and dryer using the hottest water/heat setting you have on both machines. Cut a small notch in the sweater somewhere and pull on the edge to see if it frays. If it does, send it through again until it stops. Make sure you cut a new notch each time to test, as the first one may permanently fray once it has begun. When it doesn’t fray anymore you are ready to start. Use the sweater as your “felt” and follow the tutorial.
I suppose this could be a double Made by Me Monday, because I used a white sweater to make the pillow behind the yellow one as well. This one is just 2 rectangles cut from the front and back of the sweater with a broadcloth lining and an invisible zipper in the bottom seam.
By the way, please help me out. If you think of another name for this series, let me know in the comments. All it needs is to be tied to a day of the week – like “Things I’ve Made Thursday” or “I Sew Saturday” – you get the idea. (You can also see why I need help with the name!)