by Sherri Sylvester | Aug 18, 2012

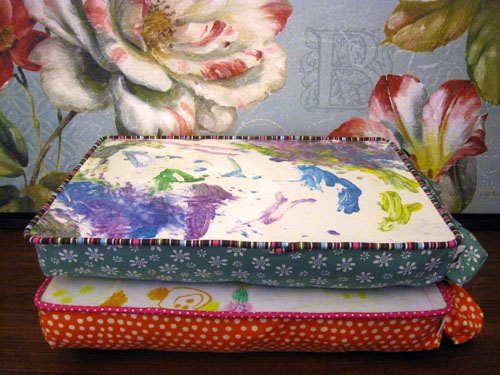
This is what I have been working on lately. WAIT – don’t scroll down yet! Don’t you want to guess what it is? Maybe you need a clue. It’s meant to keep 2 little kids busy on a very long car ride up north to the cottage. (Cue game show thinking music.) Give up?
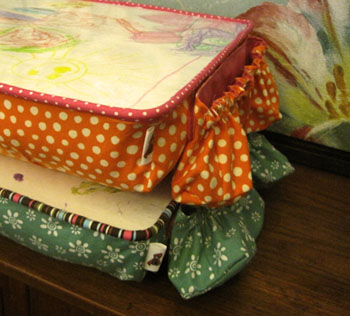
Okay, so you guessed that it was a lap desk. You’re so smart! Now, what is that weird thing on the end?
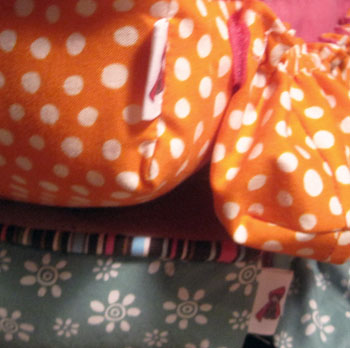
Those are pockets, removable pockets attached with velcro. Just in case you want to use the desk without a handy place to keep your markers. They are also to keep me sane, so I don’t find markers without lids in the car – under the booster seat, squashed and dried up – but not before leaving their mark on the car first. (This has not happened to me yet, and I intend to keep it that way!)
Just in case you would like to make one I am going to post a tutorial soon. And, just in case you think I have forgotten, the towel tutorial is coming soon too. You’re going to be so busy!
by Sherri Sylvester | Aug 15, 2012
This is the story of a girl – a girl, an apron and a cinnamon bun.
Once upon a time, in a kingdom far away called “The Kitchen”, a girl wanted to bake. She put on her “Mommy and Mia Apron” and started to measure.
She stirred, and stirred and stirred.
Her mom helped roll, and they put the dough in the oven.
(The stirring had gotten a bit carried away.)
When it came out of the oven, she couldn’t help but laugh for joy. It smelled delicious!
Girl: “But mo-om, we just bought this at the store. I didn’t make it.”
Mom: “It’s okay to pretend. Don’t tell anyone – they’ll never guess!”
Apron still donned, the girl stared at the cinnamon bun.
“I’m going to eat you now.” She said.
Amazingly, she waited patiently for another photo before taking a bite.
Mmmm… it was worth the wait!
“Mom, can I really eat the whole thing all by myself?”
THE END.
Well – sortoff. The second happy ending to the story is that the apron and some pint sized baking gear got packed in a box. It got wrapped up and was off to be a birthday present for a small baker down the street.
THE END (for real).
Hopefully my story has not caused the blog a loss of creditability. That said, after a 10-hour work day there is some silliness to be expected! I love my Mommy and Mia apron pattern. I bought it last year and fully intended to make a matchy set for me and my girls, but (even though the fabric for the project has been sitting there for over a year) they haven’t been made yet. I’ve used the pattern twice for gifts though and it is so cute. The ruffles are perfect and not hard to put on at all. It definitely gives the right amount of satisfaction when you are finished.
(By the way, if you are wondering, this post is not sponsored by any one – I just really like this pattern. You should go buy it too!)
by Sherri Sylvester | Aug 9, 2012
Just when I’m sure you thought I wasn’t coming back! Here’s what we’ve been enjoying for the last few days.
Painting out in the open air.
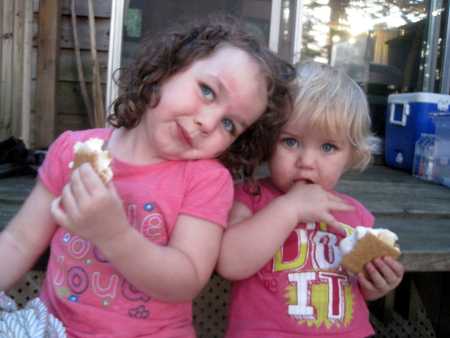
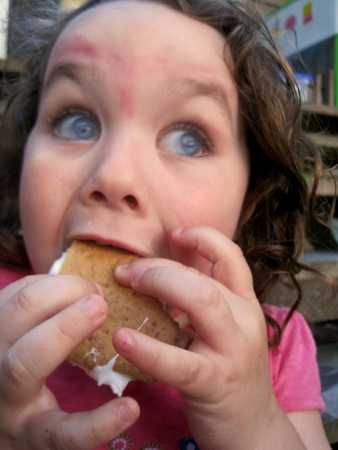
S’mores!
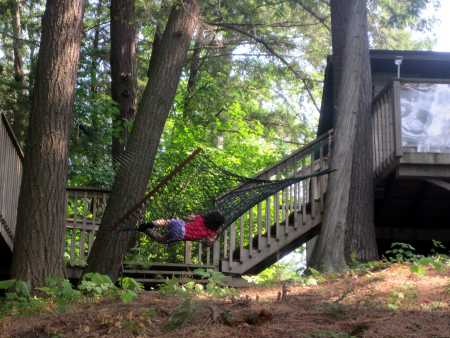
Resting in hammocks.
More s’mores!
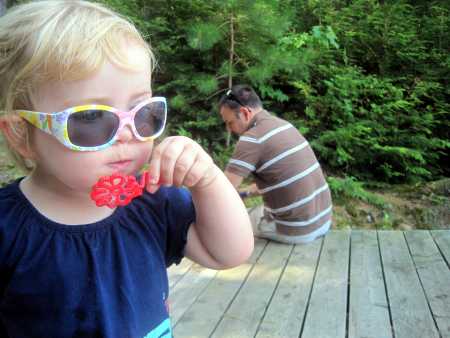
Bubbles.
S’mores, S’mores, S’mores!
Needless to say, not much sewing has happened in the last week. I’ve got lots of fun stuff coming soon. It’s all photographed, all I have to do is find a bit of time to post it!
by Sherri Sylvester | Aug 1, 2012
Here is a picture of – as my daughter put it – boring blue water shoes. They were the only ones at the store that fit her properly and I didn’t have time to go searching elsewhere. So the shoes were bought with a promise to add some bows or flowers and (hopefully) some pink! Turns out I only have 1 pink flower in my sewing stash, and, since there are two shoes and I am big on being symmetrical, we went with blue instead. Here’s what I did in quick tutorial style.
Grab some 1″ blue grosgrain ribbon and cut it into two lengths – one for each shoe. Fold each side behind into a “bow”. Thread your needle and stitch a quick running stitch through the middle of all of the layers.
Next, gather the first round of stitches and sew back through the gathers in the opposite direction. Knot your thread and trim the ends.
Here is your front view of the bow.
This is the back view. Use a hot glue gun to seal all of the raw edges. These ribbons fray like crazy. It is also good to seal the knot on your thread.
I had stashed some crocheted(?) ribbon that I bought on a huge sale once. So I used that for the centre of the bow.
I cut the ribbon on either side of 2 of the flowers, leaving some length to fold around the bow’s centre. Try to sew through the ribbon with out it fraying, and use some more hot glue to seal everything.
After that, apparently I forgot to take any pictures because I was so excited to get the shoes finished! I took another bit longer length of light blue ribbon and folded that into another “bow” without the gathers and hand stitched the whole thing like crazy. Two things here. I happened to have some matching blue “topstitching thread” which is a bit heavier weight to sew it together. Also, the hot glue is really hard to hand-stitch through. So I am basically hoping they make it through our cottage weekend without falling off. I sealed the whole thing again with hot glue after I had finished the final stitching. And, here they are…
I’m super happy with how they turned out. My daughter approves, though she did again voice the opinion that they should have pink – “at least somewhere”! I am stubborn, they match her bathing suit perfectly, and her bathing suit is not pink! I will have to see if I can get some pictures when we are up at the cottage and post them another time.
By the way – the rolled towel in the last photo is another project I am working on and will post another quick tutorial once I am finished. If you can’t wait for my version, the tutorial I will be basing mine on is here, by Anna Maria Horner. In case you don’t recognize the name, she is a great fabric designer – check out her blog!
by Sherri Sylvester | Jul 29, 2012
What would you make from these pieces?! Looks fun eh?!
I needed to sew a gift for a 1 and 3 year old’s birthday, found this pattern and these guys arrived.
They eat pajamas for breakfast, and keep kids’ rooms tidy until bedtime when they give the pj’s back. They also help moms who don’t want dirty pajamas hanging around out in the open all day. These guys are cuddly and soft and have an amazingly large pocket behind their toothy smile.
Sew Fearless does a great job with the directions. She even made them comic book style, which enticed my non-sewing husband to take a closer look, but only briefly! I really enjoyed making almost everything – except the feet, which are a bit fiddly. If you don’t fill them too full they work out fine. I used the larger teeth zippers that come apart into two pieces and also lined the whole inside of the body so the pocket doesn’t have any seams showing. Much nicer when it is used every day. There aren’t any pieces that ravel or start to look worn.
There, add a pair of pj’s inside and – gifts for two kids, done. I’m sure, kids being kids, that they may not only hold pajamas. You could find a place for all kinds of treasures in here! Oversized tooth fairy pillow anyone?
By the way, I say this cute tutorial on Sew Can She and have linked up to Beth’s Let’s Get Aquainted Monday Link Up at Plum and June.