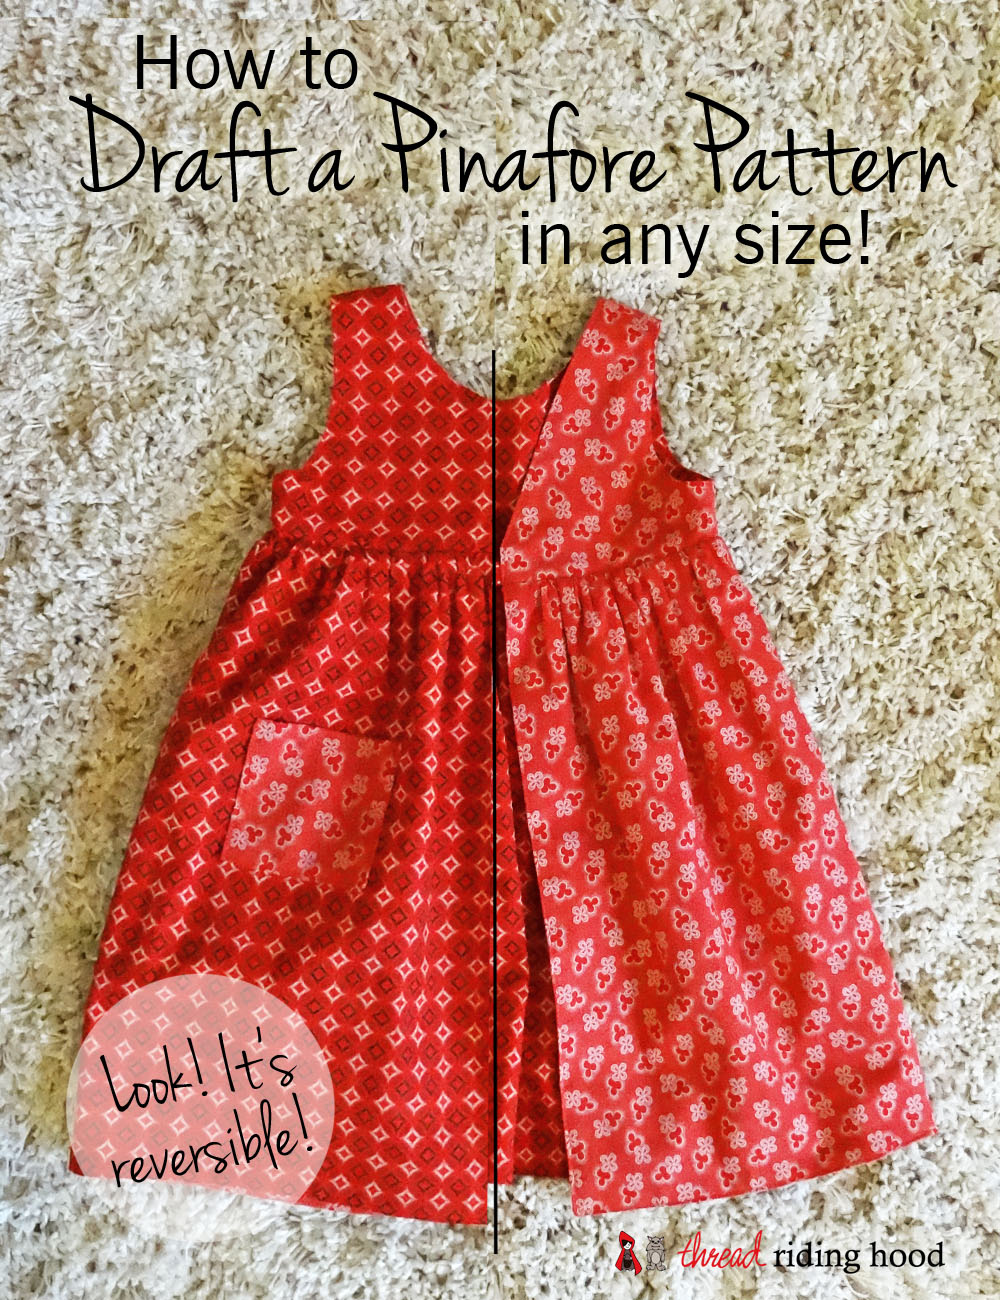
 It’s a Shweshwe Holiday over here! This post is sponsored by Meerkat Sweshwe, who contacted me a while ago to see if I’d like to create something with their fabrics. I fell in love with the these red prints and we agreed they would be perfect for a holiday pinafore. (+ Come back tomorrow to find out how to sew a reversible pinafore, and hear the story of why my daughter’s doll has a matching dress!)
Before we get too far into the Pinafore tutorial – I know some of you are asking, “What exactly is shweshwe?” It’s a lot less complicated than it sounds! This fabric is 100% high quality cotton, produced in South Africa. It’s history is fascinating, and you can find out a lot more about where it came from, or get a condensed version in my earlier interview with Meerkat Shweshwe’s owner, Céleste.
This unique fabric is treated with starch, a traditional way of preserving it during long sea voyages. Depending on who you purchase it from it comes pre-washed or in it’s original state. I was curious to pre-wash it myself and my youngest and I had lots of fun doing it. The fabric started out very stiff and it smelled like a new box of crayons. First, we pre-soaked it in super-hot water, to remove the treatment. (Pushing it underwater with a wooden spoon is super fun according to the five year old!) Then I washed and dried it like I would a regular load of laundry and it came out super soft, just like any cotton fabric you’d use for a project. It is really nice to iron as well, very crisp and easy to press. And you can tell it is high quality – with a tight weave that will last. I tried to take a few before and after photos below so you can see the difference in the fabric.
I’m also excited to let you know that Meerkat Shweshwe just opened an online store! Their well laid out shop has large photos and lots of options. There is an opening special of 10% off everything in the store, until December 18, 2015! Use the promo code DOORCRASHER, minimum order $18 before tax and shipping.
If you ever get a chance to talk to Céleste directly take it! (at Creativ Festival maybe?) She is so passionate about these fabrics and their use, and it is so fun to talk to her because of it. You’ll have to ask her about her having a part in working to provide more jobs for South Africans by supporting the Da Gama Textile factory. I really appreciated talking to her and being able to work with fabrics that hold so much history!
This tutorial will show you how to draft Pinafore pattern pieces in any size. I will be finishing this series up tomorrow with a tutorial on how to use these pattern pieces to sew a reversible pinafore. It’s easier than you think – and my fashion-loving five year old really likes being able to choose (and change) her outfit so easily. I love the traditional look of a pinafore, and it adds extra warmth (and cuteness!) to a basic shirt/leggings in the winter.
This drafting tutorial requires a simple woven dress bodice pattern to use as a base, it works especially well with a bodice that has flutter sleeves or no sleeves. I have used the First Day Dress as my base to draft from.
This tutorial assumes your base pattern has a 1/2″ seam allowance. If your seam allowance is different, please be sure to compensate for that when drafting this pattern.
Draft the Pinafore Bodices:
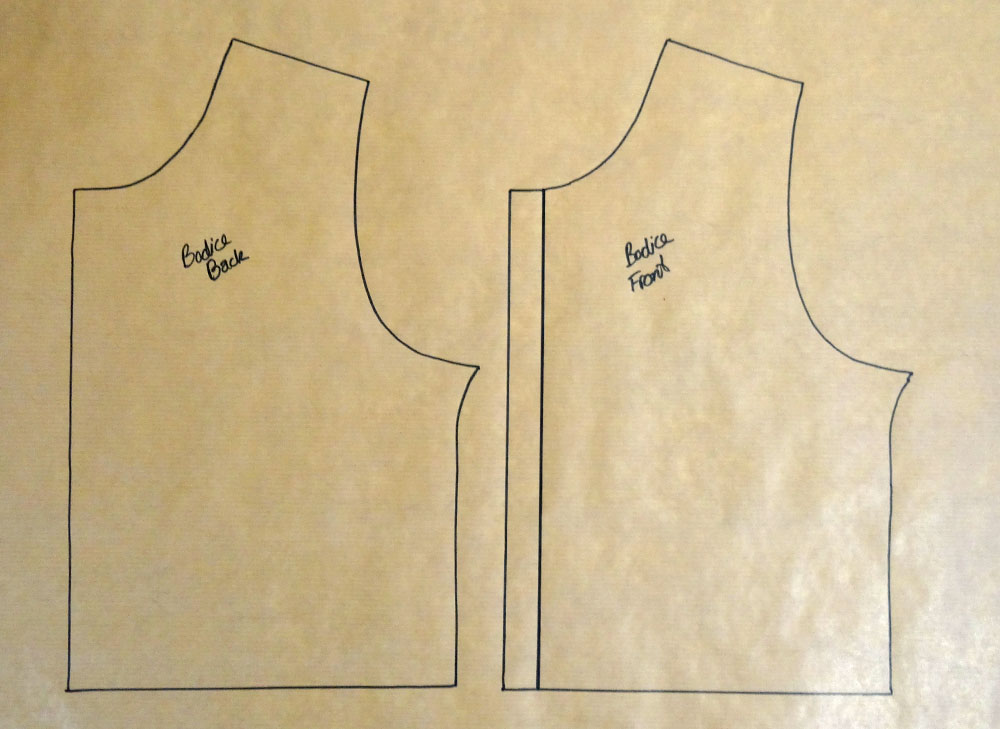
- Trace the bodice front and back onto a larger sheet of blank paper. Choose a bodice size that is generous, to allow for a shirt to be worn under the pinafore. I added 3/4″ to the centre of the front bodice to allow for even more extra room.

- We are drafting an empire waist pinafore. If your base pattern has an empire waist, skip this step. If not, measure 2-3″ (+ 1/2″ seam allowance) down from the armhole along the side seam and mark the empire waist as a straight line across the front and back bodice.

- Many pinafores have a lower rounded or square front neckline. If you would like to change it, mark the changes on your pattern piece. Remember, your neckline will be 1/2″ lower than your new marking because of the seam allowance. (Pink line below.)

- The back of the pinafore is also generally cut into a v-shape, which fits well with the button closure we will be using. Mark a line from the inside of the shoulder to about 2″ up from the empire waist line. Remember the actual pinafore will be 1/2″ smaller due to the seam allowance.

- Mark the centre fold, size, cutting directions and name on each pattern piece and cut them out. The Front Bodice is cut once on the fold, the Back Bodice is cut twice.

Draft the Pinafore Skirt:The skirt pieces are large rectangles. You will need one “Skirt Front” and two “Skirt Back” pieces. Follow the steps below to find the measurements for each one.
- Skirt Front and Back Length: Measure the length of the skirt in your base pattern + the amount you removed to make the empire waist + 1″ for seam allowances and hem. Example: My base skirt length 14″ + the 4″ I removed to make the empire waist + 1″ for seams and hem = 19″ Skirt Length.
- Skirt Front Width: Measure the width of the bottom of your drafted Front Bodice, double it to account for cutting the bodice on the fold, multiply it by 1.75 to add fabric for gathering. Example: My Front Bodice width was 7 1/2″, doubled is 15″, multiplied by 1.75 = 26 1/4″ Front Skirt Width (I changed this to 26″ for easy cutting).
- Skirt Back Width: Measure the width of the bottom of the drafted Back Bodice, multiply this width by 1.75 to add fabric for gathering. Example: My Back Bodice width was 7 1/2″, multiply by 1.75 = 13 1/8″ Back Skirt Width (I changed this to 13″ for easy cutting).
- Each final measurement for the Front and Back Skirt piece = the Length by the appropriate Width. Example: My Front Skirt was 19″ long by 22 1/2″ wide. My Back Skirts were 19″ long by 11 1/4″ wide each.
Draft the Pinafore Pockets:
- I used simple square patch pockets for each side of the skirt. Decide on a size you like and add 1″ to the width and 1 1/2″ to the height for hemming. Example: My finished pockets are 4″ wide by 4.5″ high. The pattern piece is 5″ wide (4″ wide + 1″) by 6″ high (4 1/2″ high + 1 1/2″).
Hold that thought. (and those pattern pieces!) Tomorrow I’ll be back with the tutorial on how to sew the pinafore! In the meantime, check out the variety of fabrics in the Meerkat Shweshwe Shop.


Thank you so much for sharing this wonderful tutorial!
I’m so glad you like it Fatima! I hope that you can use it 🙂
Thank you for the tutorial, your so clear and accurate measurements, I can’t go wrong. I love the pinafore for my granddaughters.
I’m glad you can use it Catherine! Pinafores are so cute!