by Sherri Sylvester | Dec 10, 2012
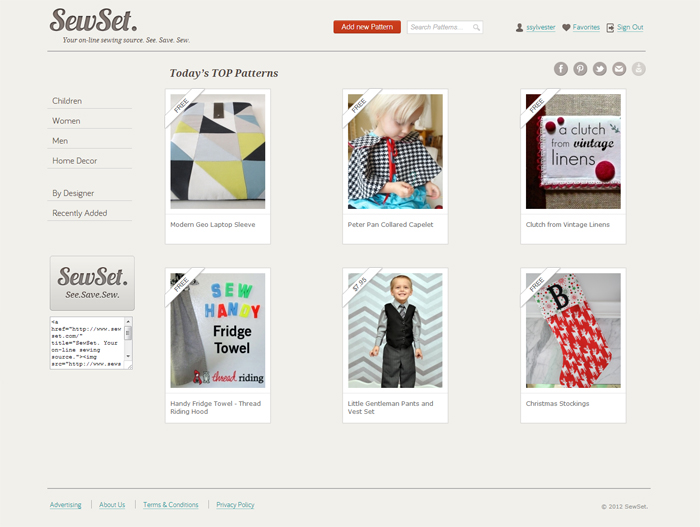
Ok, so I’m super excited to say that my tutorial was posted in “Today’s Top Patterns” (ie: the FRONT PAGE – YaEEEeeeey!) on the SewSet website today! Okay, I’m more than super excited, I’m ecstatic! Just ask my husband, he can confirm that I am grinning like a crazy person and am having trouble standing still!
Sometimes things around here get a bit dull. Don’t get me wrong, I love what I do (of course!), but I don’t get a lot of comments on my posts (as yet, crossing my fingers!) and so the feedback is pretty slim. It’s super motivating when I find something I’ve put online has helped someone, or at least made them excited about sewing! As far as my Google Analytics tell me, there were 6 whole (new) people on my site today because of the link on SewSet, and that’s a big deal for my blog!
If you are still awake and it is still Monday where you live, you can visit them (click on the button below) and see the front page for yourself. If you are reading this on Tuesday, visit them anyhow! This website is a great resource for finding and searching for sewing patterns and tutorials online. If you want more information I also talk about SewSet on this post.

And, just to confirm, here’s a screenshot of their front page today. I’m in the bottom left corner.
by Sherri Sylvester | Dec 10, 2012
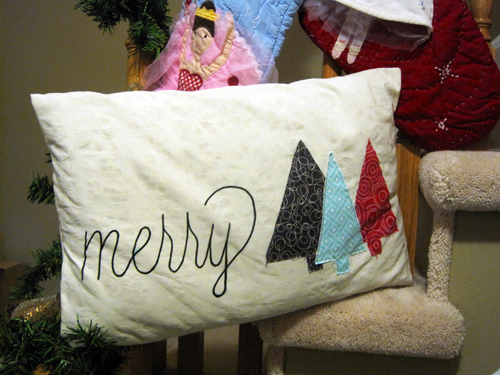
I have seen so many Christmas tutorials in the last few weeks and I’m dying to try all (or at least some!) of them. Finally last night I took a break from my Christmas present sewing to make this.
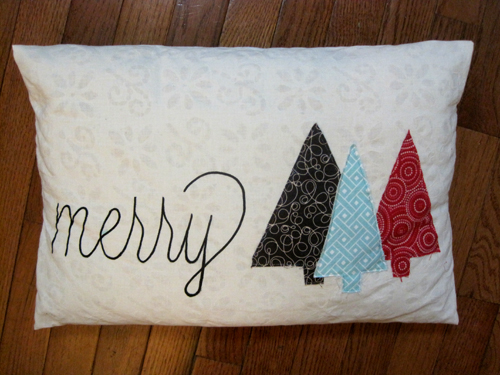
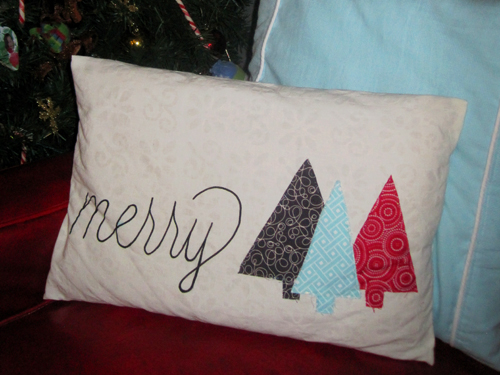
Easy Merry (Christmas) Pillow
I have been wanting to make one of these pillows since my daily email from Sew Can She showed up in my inbox with this tutorial from The Train to Crazy. I have been to her site a few times now and her tutorials and patterns look super cute.
This tutorial is easy to follow, though I am not sure how she managed to finish the pillow in half an hour! It took me about an hour at least, and that was without trying to stitch my way over the “merry” text. It must be the perfectionist in me!
I ended up using a fabric marker to trace the text, which turned out nice I think! Though I may have been happier if the wording was in red… hmmm… maybe next time.
I’d love to hear if you made one of these pillows! Put a link to your photos in the comments or email them to me and I can post them on this blog!
by Sherri Sylvester | Dec 6, 2012
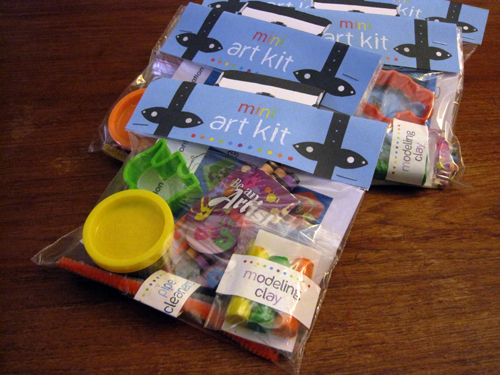
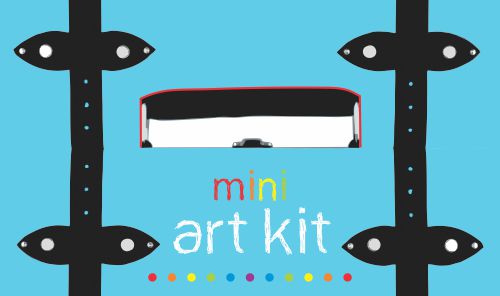
For those of you who are on pins and needles waiting for the Mini Art Kit Printable Topper – you are in luck! Here it is. I posted the instructions for the mini birthday goodie bag kit last week and here is the finishing touch.
Instructions:
1) Use the Mini Art Kit (mini) Tutorial to make the kits.
2) Download and print out the topper on cardstock – Download: Mini Art Kit Topper
3) Cut out the toppers (assuming you are making more than one). Now, use a craft knife to cut the outside edge of the handle – see red line in the photo. Do not cut the bottom flat edge of the handle!
4) Fold the topper on the fold lines – see the red dotted lines below. When you are folding, do not fold the handle, it should stay flat and stick up above the fold when you are finished (see the photos of the finished product for reference.)
5) Place the topper over the zip-edge of the bags you used and staple it twice, once on each side. Voila – you are done!
For those of you excited for Christmas I’m going to post a few Christmas sewing projects over the next few weeks. Get ready to sew something!
by Sherri Sylvester | Dec 3, 2012
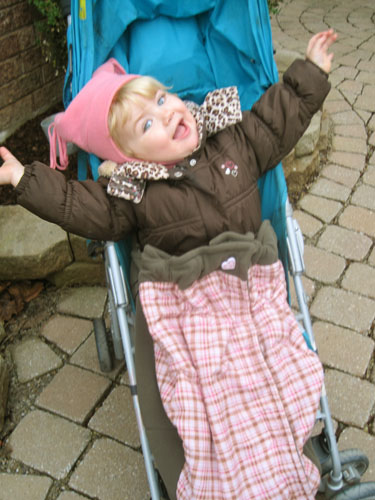
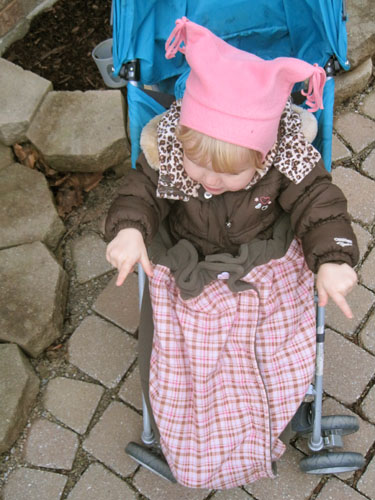
Last year while walking to and from school I tried at least 7,000 things to keep a blanket on my youngest daughter. I didn’t really want to put snow pants on her if she was just going to stay in the stroller, but the blankets kept falling off and getting caught in the stroller wheels and one day I just got fed up with it all. This is what I made:
The Stroller Blanket
(Ta Da!)
Thankfully I had some warm fleece, some soft brown material in my stash and a large piece of pink plaid. As a side note: the stroller this was made for was not bright blue, or I would have picked something that matched better!
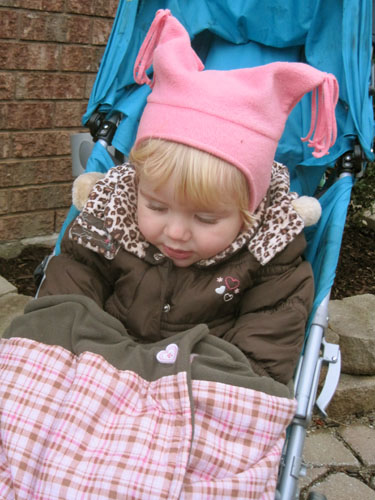
It’s the perfect place for keeping tiny hands warm,
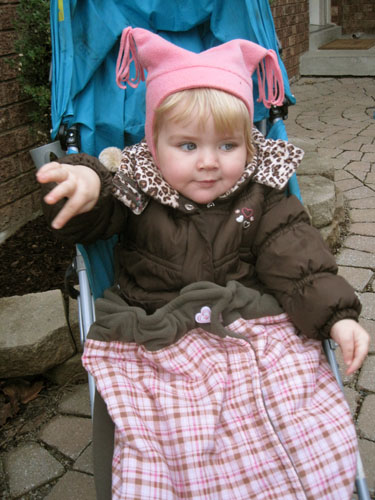
and even the perfect place to dance!
I found a tutorial online, though I just looked and can’t for the life of me find it now of course! I used that as a sample for how to design the flaps, hauled the stroller into my house, and ran up and down the hallway measuring as I went.
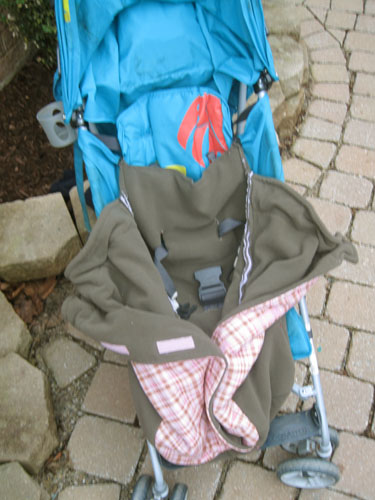
The front flaps are held together with some pink Velcro I picked up the last time I was in JoAnn’s in the US. The inside has large button holes for the straps to come through. It is lined with the soft brown material and has a layer of purple fleece between the two layers to make it extra warm. I added the pink plaid to the front to make it prettier (and a bit more girl-like!). I was supposed to eventually use bias tape to cover all of the exposed seams – but life took over and it hasn’t happened yet!
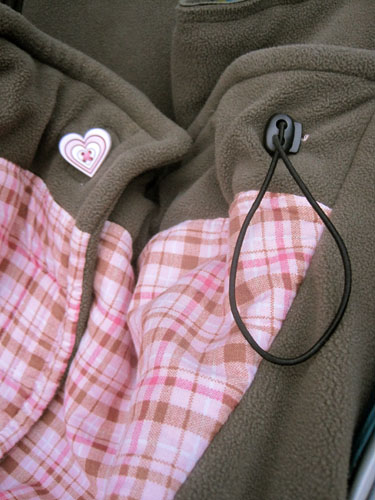
It is held onto the stroller by a 1″ elastic that fits over the back of the seat. There is an adjustable elastic threaded through the top on both sides – so it can be made cozier in seconds! It also helps it to be more adjustable to fit both kids. I got to use the cutest heart button at the top (Thanks Mom!).
Now… how do I get out of this thing?
by Sherri Sylvester | Dec 1, 2012
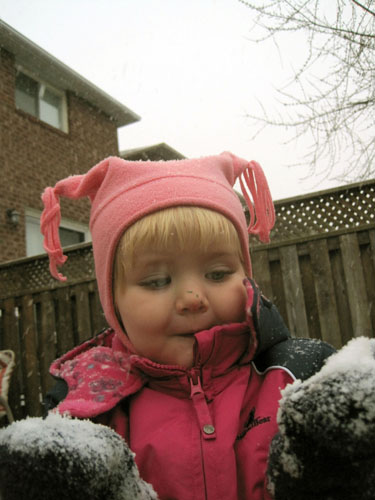
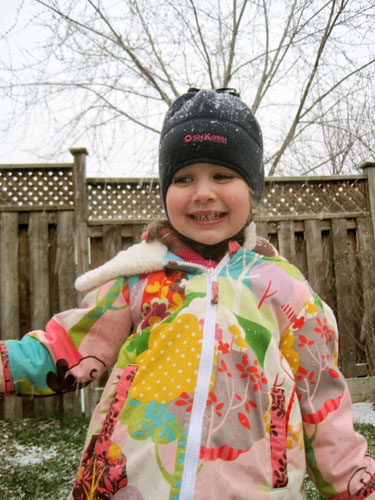
Yesterday we started putting up our Christmas things. We put on some Christmas music, and then the perfect thing happened – it started to snow!
Big, beautiful perfectly white snow flakes.
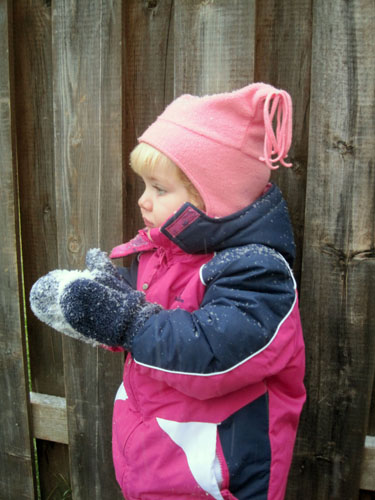
The girls were so excited to go outside. We scrambled into snowsuits and new boots.
Too bad there wasn’t enough snow for a snowman!
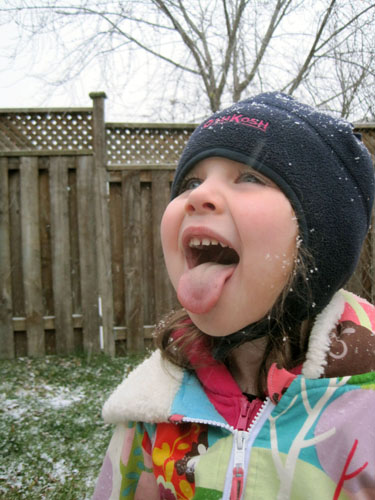
But there was plenty to catch on your tongue! Hope you have a great start to your Christmas season.