by Sherri Sylvester | Sep 4, 2014

Wow! I have severely overestimated my ability to get things done and get two kids started in school. Especially since my body decided to let me catch a cold earlier this week! This past few days has been a rush of emotion and busyness, all while trying to get a few things ready for some really fun events coming up soon. More on that another day, suffice to say – I’m just happy to have “finally” posted something new since last week!
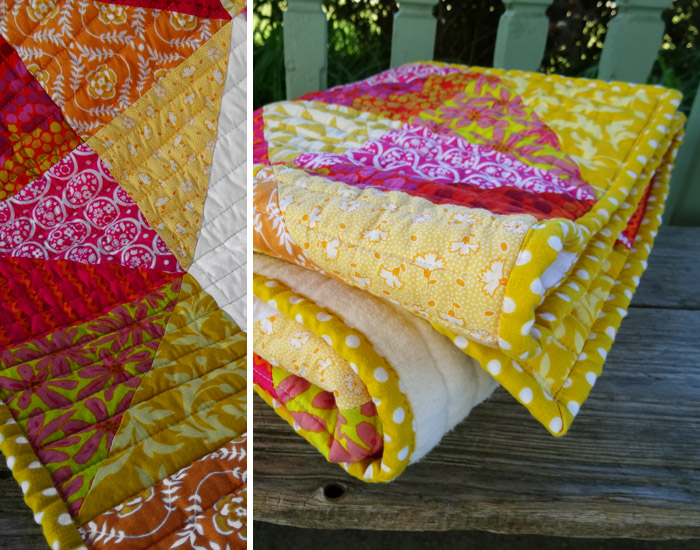
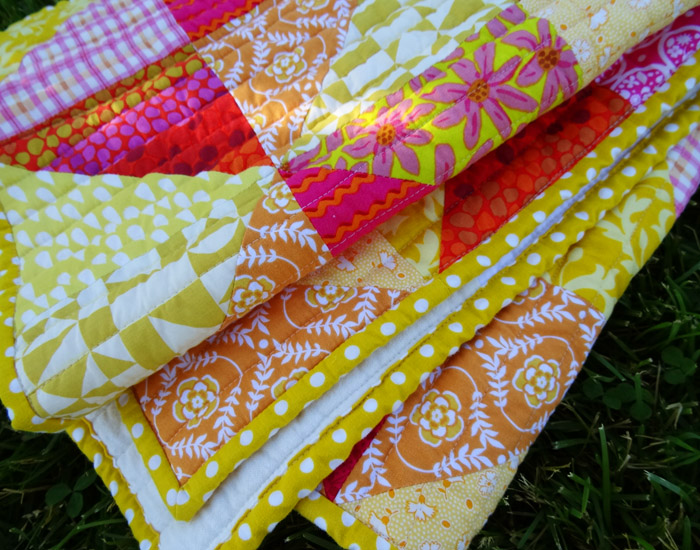
At the risk of using almost the same title twice in a row, I have made another mini quilt. (First one here.) This one is made from a little bundle of pre-cuts I received from Daryl at Fabric Spark. These photos were taken at the end of June, believe it or not. I’m feeling a bit behind in letting you know what’s going on around here! Either way, I am so happy with this little quilt. It has lived in our car for the entire (thankfully cool) summer and been loved a lot. We even have to keep track of who’s turn it is to use the “blanket mommy made”! You can tell we don’t have many of those yet!
(P.S. Fabric Spark is running their Mystery Fat Quarter event again – on now until September 14th! Buy the equivalent of one yard of fabric or more and use the code “FQfun” to receive a coordinating “Mystery” fat quarter absolutely free! Click here to visit Fabric Spark and see her great selection. I think you’ll have trouble stopping at 1 yard!)
When I got the pre-cut bundle, little did anyone know it would hold the most perfect number of colours and white squares possible! It almost exactly matched the requirements for the Big Love Quilt by Modern Handcraft for Dear Stella. The only thing it lacked was size, so I made it using a 5.5″ square instead of a 10″ square. So I guess instead of a Big Love quilt, I made a Little Love quilt. (hee hee!) I would love to try this again with another set of fabrics. I’ve got at least 4 bundles stashed that are waiting for quilts and I’ve begun cutting a 5th for something else.
This quilt is made from half square triangles (HST’s), with a few full white squares in the centre of the heart. It was extremely fast to sew up, even for a beginner quilter like me, and I love the results. Actually, I have several heart-related things pinned to my “Quilts I Might Make” Pinterest board, maybe it’s time to do a little round-up? I love that a quilt is an art-piece that you create to keep someone warm and let them know that you love them – so the heart theme is quite appropriate!
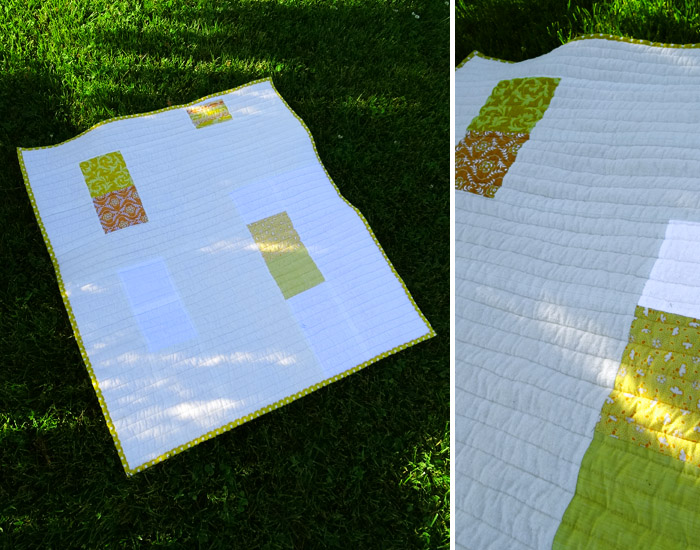
I am absolutely in love with the back of this quilt as well. It was nerve-wracking and fun to sort out how to stitch these pieces together so they came out in the positions I wanted them to, but it turned out great I think! I am quite happy with the low-volume modern-ness that it made itself into. And it’s amazing how clean it has stayed, even in the back seat of our car! (Though there was that one incident with the chocolate milk… but thankfully it came out in the wash!)
It is straight-ish line quilted and I used a double layer of fleece blanket for the batting. That amount of fleece would be perfect for a baby play-mat, nice and squishy! Unfortunately, squishy doesn’t really drape over your lap, but it is cozy, and the kids don’t notice things like drape anyhow! The most perfectly coloured binding is the same vintage yellow dot fabric I used to make my youngest’s Easter dress this spring. I love how it picks up on the yellows in the quilt. It’s machine sewn, since I haven’t had the compulsion to hand-stitch a binding on as yet!
Well, I’d better go now, I’ve got lots of things on the list to do tonight! Amazing how time flies by. First up… clean the house! (Today’s Trivia Question: How many times can you use the word love in a post? A: 11!)
by Sherri Sylvester | Aug 29, 2014
I have literally been living in this dress this summer! When I wrote a tutorial on adding a drop shirt-tail hemline to the Staple Dress pattern earlier this year, I mentioned I had made a wearable muslin, and is it ever wearable. I picked up this rayon at my local Fabricland in the spring for about $6/metre, if I remember right. It’s very soft and drapes beautifully – making it perfect for the Staple Dress – and also a real pain to sew!
I seem to like prints with an obvious graphic repeat, and then I get home and have to sort out how to match up the side seams and keep everything straight at the same time. I’ve had a LOT of practice over the last few years! This fabric was one of the worst I have sewn with. It was a dream on the machine – but cutting the pieces was a nightmare. I had to straighten the lines in the fabric by holding my quilting ruler in a straight line and incrementally moving the fabric until it lay straight. Then I had to hold my breath while I placed the pattern on top and cut it out. Thankfully it all worked out well in the end.
I’ve already mentioned that the floaty nature of the fabric was hard to work with, but I would still highly recommend that a slightly thicker rayon is the ideal fabric for this style of dress. It really needs to drape well or it will look very boxy. A good quality rayon would also be much easier to lay out, and wouldn’t cause the trouble I put up with for this particular low quality (but gorgeous!) fabric. I’ve seen many complaints about the Staple Dress pattern on countless blogs. Most of these mention using (non-draping) quilting cotton to sew their garment. I wonder if it is a coincidence? I do have to say, though, in quilting cotton’s defense – that the Art Gallery fabrics are great for this pattern. They still do not drape as much as the rayon, but they drape enough to make a great dress. And think of all of the amazing collections you can choose from!
We took these photos in old Quebec City while we were on vacation. I wish I could go back – it was an amazing trip, and had so many great places to take photos! I got a little photo-bombed by my girls in this shot. It was the day that we also photographed the Add-a-Bow tutorial and the Flutter Sleeve Tunic. I love that all of us were wearing handmade, and that our vacation shots are going to preserve them forever. I’m sure, though, that one day we will look back at our vacation photos and my kids will wonder why I ever “let them” wear these outfits in public!
Our Material Girls Sewcial is tonight, and funny enough, I’m going to wear this dress. Which reminded me that I should post these photos before we run out of summer. It would be a little crazy to post a summer dress in the middle of winter, I think. I’ve got a collection of at least 4 photographed summer projects + the end of school teacher gifts I didn’t blog about yet. I should really get on that! Or, maybe I should wait until next May to post those… hmm…
Reader Feedback: Have you sewn a Staple Dress? How did yours turn out?
by Sherri Sylvester | Aug 27, 2014
A few months ago Lindsay from Stay Home Fabrics asked me if I could create a tutorial using fabric from her online shop. Of course, more fabric? How could I resist! And it’s even more fun because she’s selling a kit for my mini quilt in her shop. It’s times like these that I LOVE being a blogger, Yippee! Lindsay also has provided a discount code for you to use in her shop (Thanks Lindsay!), use the code “sewhappy” to get 15% off your entire purchase! (Valid until Sept 3, 2014)
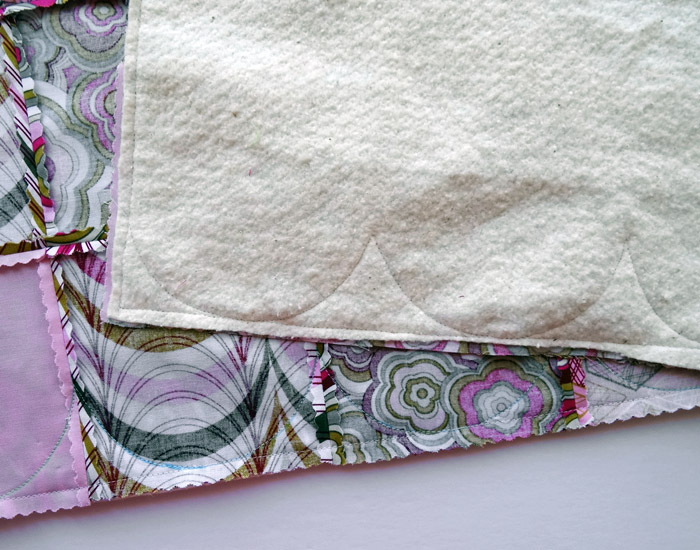
When I received the Lovelorn 5″ charm pack from her I sat on my living room floor and set those 49 squares into about a dozen combinations before I sorted out the arched design. But it still needed something fun, so I added a scalloped edge to the bottom of the quilt. Just in case the fabrics weren’t feminine enough on their own! I can see it being used for a baby’s quilt or playmat or a toddler cuddle quilt. For older kids (like mine), keep it in the car for cold winter days when their legs need a bit of extra warmth – think dresses in Canadian winters!
Don’t be fooled by the scalloped border, this mini quilt is very simple to make. It finishes at around 31″ square, and is sewn “pillowcase style” so it doesn’t require a binding. I didn’t even use a walking foot to quilt it! This project is easily finished within a day, so it would be a perfect quick shower or new baby gift. I think an advanced beginner would have no problems finishing this quilt, provided that you have some experience sewing curves.
Before we get to the tutorial, and just in case you need something to spend your 15% discount on, (like we all need a discount to force us to buy new fabric?!), Lindsay just posted some new fabric in her store for you! Here are just a few from the new Indelible collection by Katarina Roccella for Art Gallery. (Click the photos below to visit the listing in the Stay Home Fabrics shop.)
Ready to make a quilt?
You will need:
Before you begin:
- Since you are using a charm pack, there is no need to pre-wash your fabrics. I washed my quilt before I took these photos and it came out just fine.
- Print and cut out the Scalloped Edge Pattern Piece, check the 1″ square to make sure it is the correct size. Make sure to use the “actual size” setting when printing it out.
- Double-check to make sure you know how to sew an accurate and consistent 1/4″ seam on your machine. Here’s a good tutorial on accurate 1/4″ seams.
Here’s how to make it:
- Begin by finding a flat area (floor or table-top) to lay out your pre-cut charm squares. Follow the diagrams below to lay the pieces out in the correct order. When you finish, you will have a square 7 pieces high by 7 pieces wide. Make sure all of your one-direction fabrics are facing in the same direction!
- Next, stack your fabrics in order into piles (one for each row) with the left-most charm square on the top of the pile. I keep track of this left-most square by placing a pin on the left side of it. This also helps to keep track of which way “up” the quilt rows go together, since it can be simple to accidentally reverse a row by placing it upside-down. The pinned square is always on the left of the quilt.
- Stitch your rows together by placing each fabric square right-sides-together with its adjacent square and sewing a 1/4″ seam. Then add the next adjacent square to the first two and so on. When you finish you will have 7 rows pieced together. Since the rows are in piles, begin by placing the top square right-sides-together (RST) with the square underneath it, stitch, then add the next square etc…
- Press all of your seams open or to the side.
- Now we can sew our rows together to create the quilt top. Match the adjacent raw edges of each row in order, just like you did with the charm squares and stitch them together with a 1/4″ seam. I like to pin at each seam, to make sure they match up. Here is a good tutorial on matching quilt seams. Press all of your seams open or to the side.
- Now you should have an aproximately 33″ square quilt top. (Congratulations!) Go ahead and square up the quilt top. Here is a good tutorial on squaring up a quilt. (They square it after it is quilted, but we need to do this step now because we are not binding this quilt.)
- Layer your 33″ square batting with the quilt backing right-side-up on top of it. Now place the quilt top right-side-down on the quilt backing. This is your quilt sandwich. You will need the back and batting to be the same size as the quilt top, so smooth everything down (really well!) and cut away the excess. It is best to use a ruler and rotary cutter for this step, so the quilt stays square.
- Pin well around all four edges of your quilt. It is a good idea to do this right after you square up the quilt and before you move it, since moving the quilt between the cutting and pinning will shift the layers around.
- Mark a 6″ space on one side of the quilt (not on the bottom scalloped edge). Stitch around all four edges of the quilt with a generous 1/4″ seam, leaving the space open for turning. Stitch with the quilt top under your presser foot and the batting next to your feed dogs. Make sure the layers feed evenly through the machine.
- Use the pattern piece to trace the scallops onto the bottom edge of the quilt. Line up the pattern piece so the scallop is even with the seam you just stitched. The edges of the traced scallops will meet at each seam.
- Pin the scalloped edge of the quilt. I pinned once on each side of each curve and at every seam.
- Stitch along your traced scallops, pivoting at each seam to begin the next curve.
- Trim the scalloped edge to 1/4″ and clip all curves. Clip into each pivot point, being careful not to cut your seam! Remove any previous stitches that might be inside of your curved stitching. Clip the two top 90 degree corners of the quilt to reduce bulk.
- Press the seam allowance within your 6″ gap to 1/4″ on both sides – press the batting back as well. This sewing trick is better explained here.
- Turn your quilt right side out, push out all corners and edges. Press well – especially around the edges of the quilt, ensuring they are all even. Pin the opening closed. Take care to ensure the edges match once they are pinned.
- Carefully stitch the opening closed with a ladder stitch. Here is a tutorial on how to hand sew a ladder stitch.
- Smooth out the quilt again on a flat surface and use safety pins to baste the quilt so it is ready for hand quilting. I used safety pins and placed one in the centre of each square. Use more or less depending on what you are comfortable with.
- Top-stitch around the entire edge of the quilt roughly 1/8″-1/4″ from the edge.
- To begin quilting, stitch all the way around the centre dark pink block in the quilt. I used my presser foot as a guide to stitch approximately 1/4″ away from the block on all sides. Move one block away and quilt a larger square around the next, and then 1 more large square around the next set of blocks to finish quilting. Make sure all layers of your quilt are feeding evenly through your machine. If they are not, remove stitching, add more pins and try again.
- Remove your safety pins and you are finished! Give it a wash to make it wonderfully soft and crinkly. Perfect!
I’d love to see your creations! You can share your projects on Twitter and Instagram @sherrisylvester with the hashtag #alongforthreadride or #threadridinghood, or post them on the
Thread Riding Hood Facebook page.
* This is a sponsored post, I was given the fabric from Stay Home Fabrics to complete this project. A always, all opinions are my own. *
by Sherri Sylvester | Aug 25, 2014
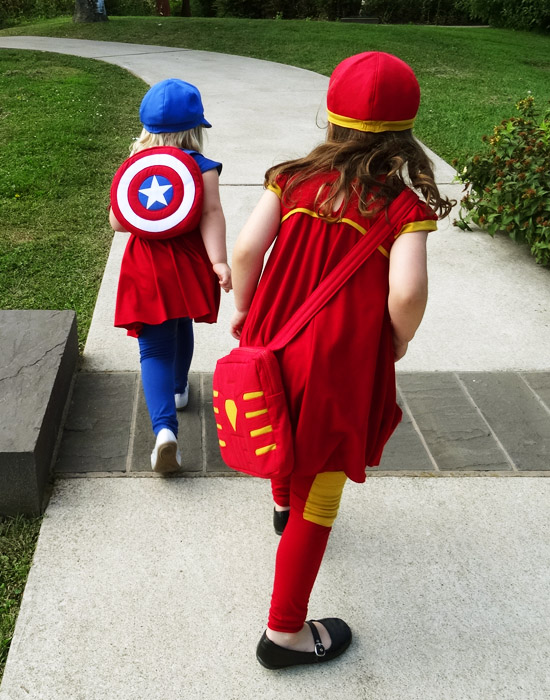
Today I’m letting my geeky side out for a day or so! I signed up a few months ago to be a contestant in Crafting Con – a contest dedicated to fiber-related crafting & sewing all things geeky. Each month has a new theme and today is the last week of August’s Avengers themed posts. I’m competing for the glory of making the “best” every-day wearable clothing based on one or more of the Avengers. Specifically, something your kid could wear to the grocery store, and not look too out of place. (I may have gone a tad overboard on this part!)
Since my husband loves these comics, and I have enjoyed watching all of the Super Hero movies that have been released lately, I knew this was the month for me. My entry is posted over at Mae & K and I’d love for you to check it out! If you want to see they competition, you can go here and see what I’m up against. I’m fortunate to be the last entry for August, so I’ll only have to wait until next week to find out who is declared the winner!
There is so much more information over on the official site, but I thought I’d post a few more photos here, since it was “super” difficult (hee, hee) to decide which to post over there. You can also click over for a ton more photos and to read about about the construction and materials I used and why I chose certain details. If you want, you still have a few days to place an entry in to win a gift certificate to the Fat Quarter shop, or you can enter the giveaway to get some handmade Avengers t-shirts.
I spent way too much so much time last week making these outfits and the entire time I was met with pleas to wear clothing or use their bags – which of course, couldn’t be met because they had to stay clean for the photo shoot. But I’m so glad they were excited about it! It was so much fun and I really think I have the most fun sewing when I let my creative side go crazy and make a costume for the kids, or even clothing based on different characters like these. One of my most favorite projects each year are the Halloween costumes (last year’s here) I make for the girls, even if it is usually super last-minute and I stay up until all hours for a few days in a row to make it happen!
The other thing I liked about this project, and I write more about it in my official entry post, is that I could use this as an opportunity to make my girls something that isn’t “supposed” to be girly. I loved playing around with how best to make something more feminine, but still based on a male super hero. I live in a world surrounded by talk of pink and princesses and I really want my girls to climb trees, build things with power tools (in a few years!) and not be afraid of crawly things outside. It’s my way of pushing back the pink, even one outfit at a time! I know I’ll never get rid of it, and I do want them to be feminine and pretty – goodness, I would never take away their twirly dresses. (Besides, they are way to much fun to sew!) I’m thankful that they enjoy a variety of activities and we’ll keep offering them non-pink options, hoping they’ll take us up on it every once in a while!
What is your experience with all things girly? How do you deal with the barrage of princess gear?
by Sherri Sylvester | Aug 21, 2014
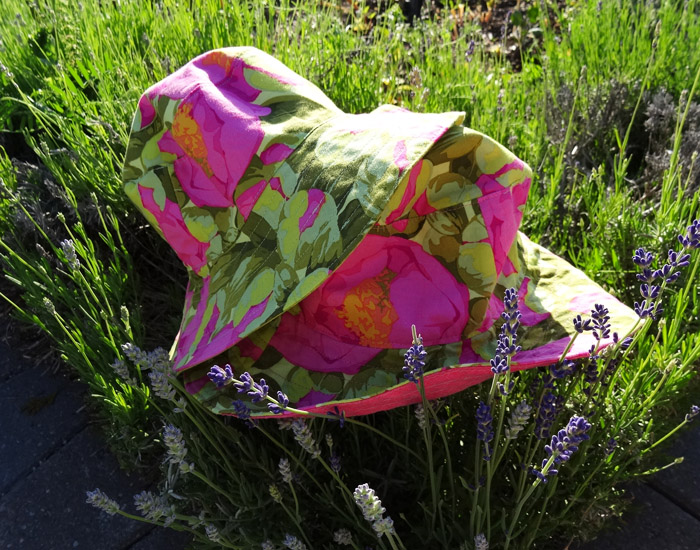
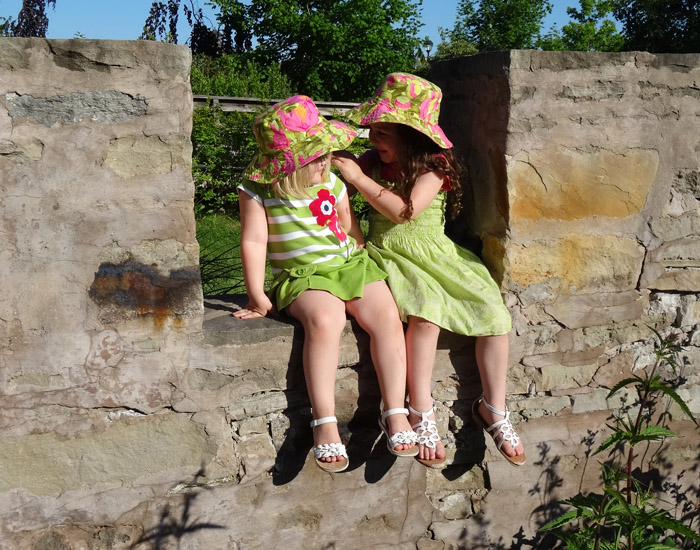
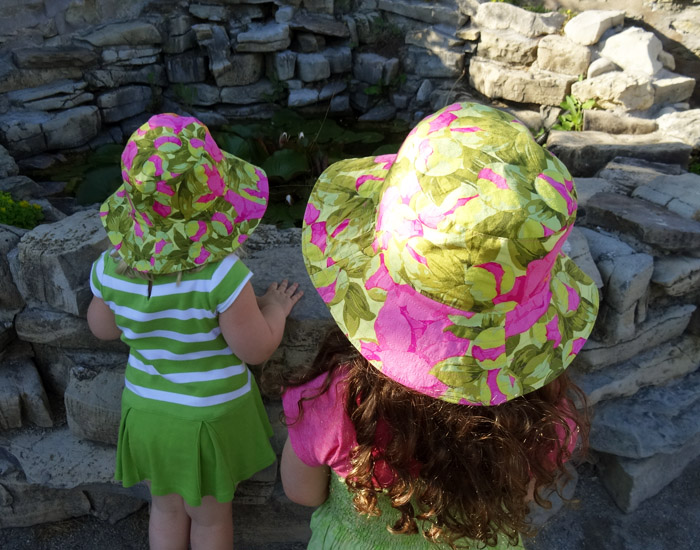
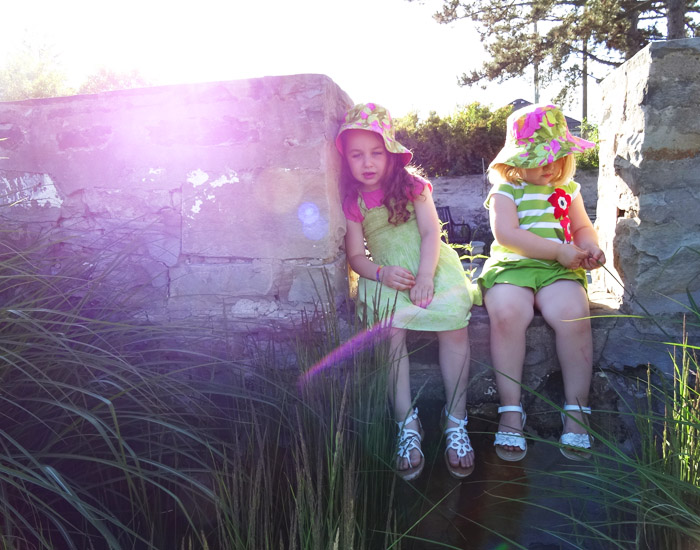
I made these hats quite a while ago – in June I think. The thing I really like about sewing (and stashing) is that you can make things whenever you need them. Kind-of like these hats, one of which was made because my youngest forgot her hat at Grandma’s and needed to have one for preschool the next day. The other was made to match the first – of course!
As per the usual, one has a green lining and the other pink… so they could match and still know who’s hat is who’s. I used the ever popular free reversible bucket hat pattern from Oliver and S. This hat is a quick evening or nap-time sew. Especially if you use this method from a little gray so you can avoid hand-stitching the two sides together. I love having small, easy practical projects for when I feel like sewing something useful and uncomplicated.
I used up the last of my Martha Negly Peony fabric for these… really squeezed it out of my leftover pieces. I even had to split up the brims and piece them back together. But I did it, because I proposed two different fabrics but the girls wanted to match. Yes… mommy sometimes makes a bit of fabric magic to keep everyone happy – hooray! The bulk of my Peony fabric went to making an empire waist Scirocco sundress last summer – another one of my most favorite projects. It’s been worn so much it is currently in my mending pile. I should really fix it before summer disappears!
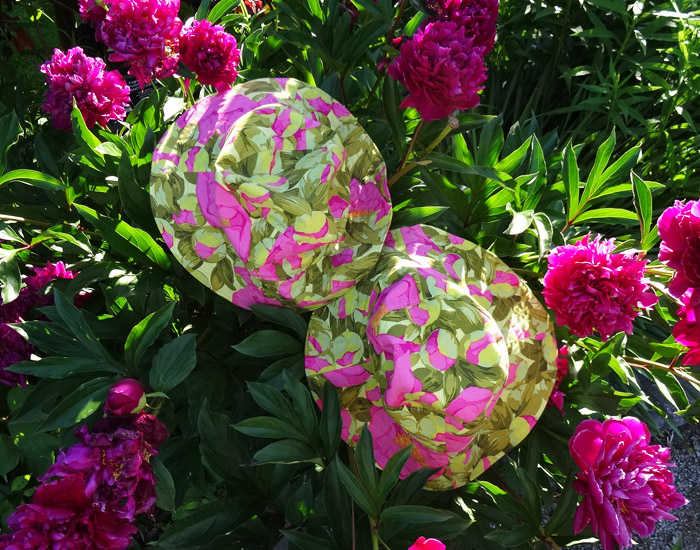
We had fun going to our nearby amazing park and splash pad for this photo shoot. It has a gazebo and garden near it and I was pleased to find that they had pink peonys! Unfortunately we got there at the end of the peony season, but we took this lovely photo of the hats “camouflaged” in the bushes anyhow. I bet you didn’t even know the hats were there – right? (Ha!) My kids kept telling me I was crazy and that they could still see the hats… ah well!
I’m madly sewing Avenger-esque outfits for the girls because I’m a contestant in CraftingCon this month. Everything is due tomorrow to be posted on Monday, so I’ll likely not be back here before then. In the meantime you can see the other Avenger entries on Mae & K, so you know what’s coming!