by Sherri Sylvester | Jan 24, 2014
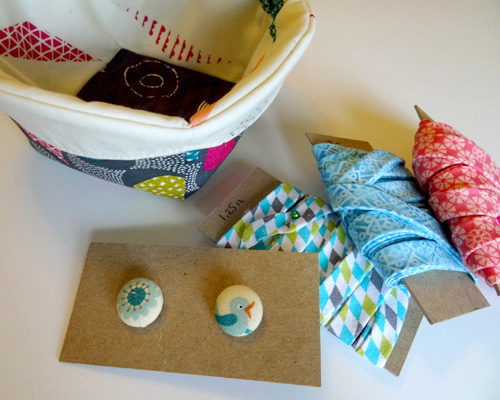
The Material Girls (my sewing group) are getting together again soon. We exchanged fat quarters at Christmas with the intention of using them for a project at this month’s meeting. I thought I would do a roundup of fat quarter projects everyone could use as inspiration! I love fat quarters, but since I don’t quilt all that often (yet) it is helpful to have a project list that uses them up for other small projects.
The projects below all use up 1 or 2 fat quarters each, but most use less than 1. Have fun planning! And if you have a lot of gorgeous fat quarters that you don’t know what to do with (like myself!) you can follow my new Pinterest Fat Quarter Project board, I’m sure I will be updating it as I find more projects.
Text List of the Links Above:
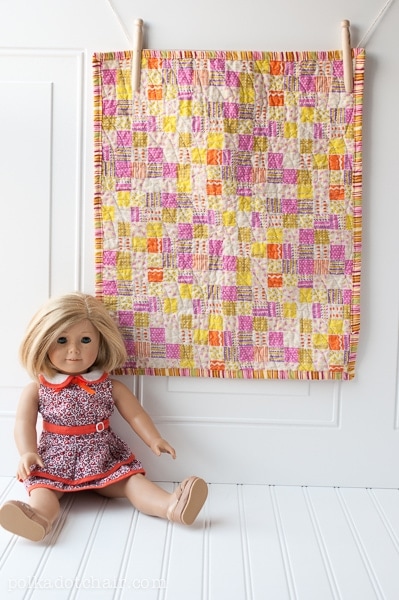
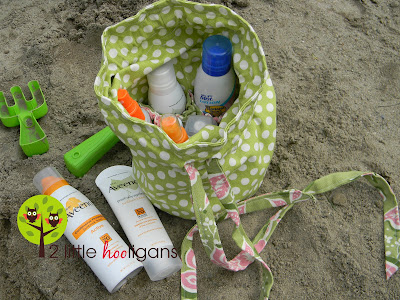
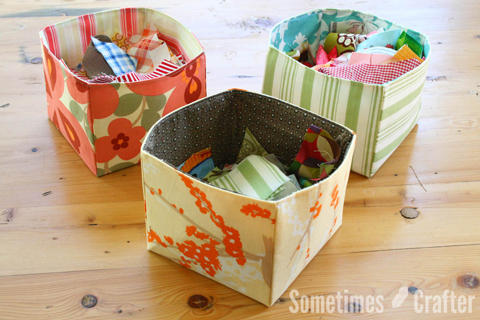
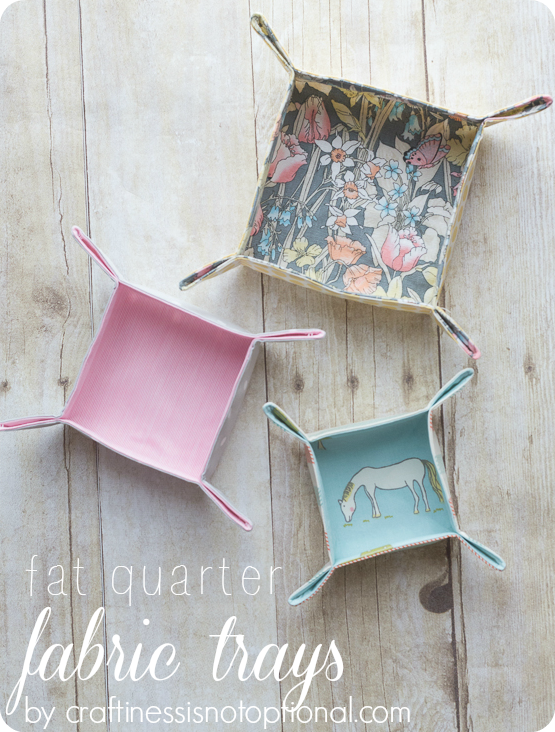
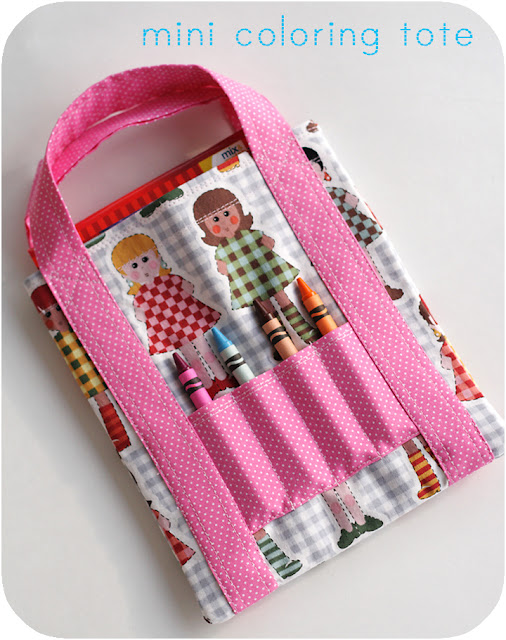
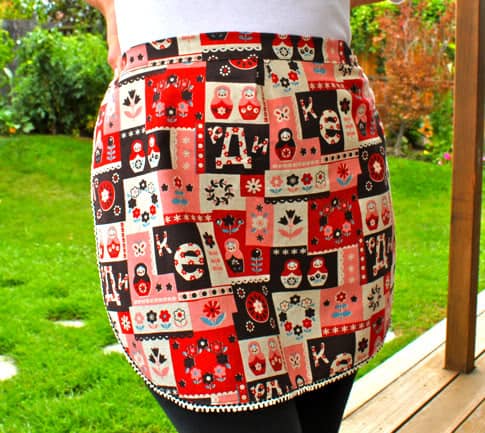
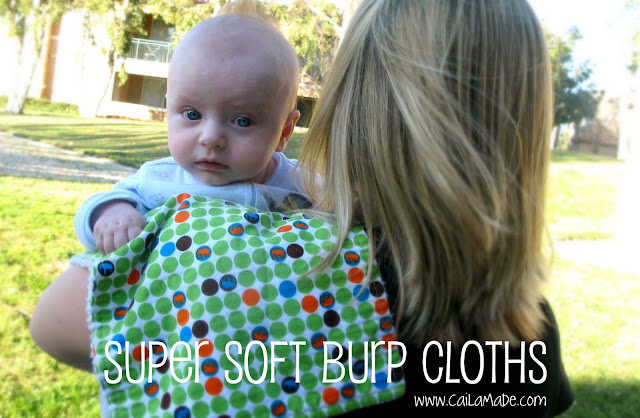
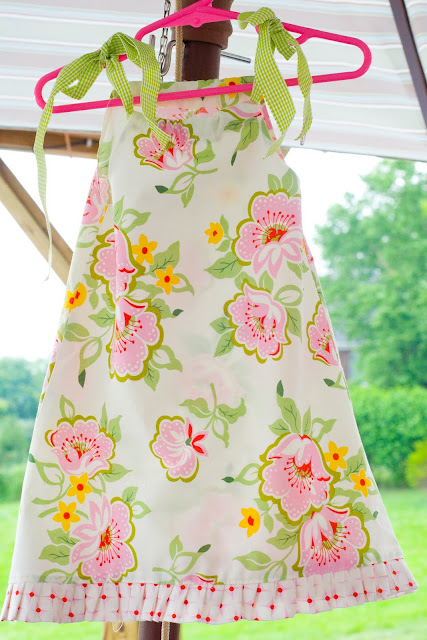
2Cut(e)2Sew – One Strap Bag ~ Polka Dot Chair – Doll Quilt ~ 2 Little Hooligans – Beachcomber Bag ~ Thread Riding Hood – Sew Handy Fridge Towel ~ We Wilsons – Reusable Snack Bag ~ Kristie @ OCD – Gardener’s Apron ~ Chex Beeper Bebe – Counting Bean Bags ~ Noodlehead – Open Wide Zippered Pouch ~ Charm Stitch – Sketchy Pleat Clutch ~ Sometimes Crafter – Fabric Scrap Basket Tutorial ~ Craftiness is not Optional (for U-Create) – Fat Quarter Fabric Trays ~ LBG Studio – Mini Colouring Tote ~ Pretty Prudent – Fat Quarter Apron ~ Diary of a Quilter (on Make & Takes) – Fat Quarter Bag ~ Thread Riding Hood – Sunny Glasses Case ~ Sew She Sews – Bib Tutorial ~ Caila Made – Super Soft Burp Cloths ~ Noodlehead – Gathered Clutch ~ Polka Dot Chair – Fat Quarter Baby Dress ~ All People Quilt – Small Treat Totes
by Sherri Sylvester | Jan 21, 2014

I found a button in the bag-o-buttons my sister put in my stocking at Christmas. It says “No Stress”. I’m sure it’s from a random company somewhere – but it has turned into the theme for this year’s blogging. I tend to stress out about posting, especially on Mondays. Bloggers can get to thinking the world revolves around their posts… It’s not true, though, I hear. And of course it isn’t, because I don’t refresh my favorite blog sites all day when they are expected to post. For them, I understand that life sometimes takes over and it’s not possible to keep up with the schedule they would like to have. But, for some reason I don’t let the same rules apply to myself – I don’t allow me to catch a break, and I get on my case for posting most Monday posts at midnight (or after!). All that to say, I’m trying to be more organized this year. I’m hoping to have Monday’s posts finished before Monday, and schedules for other posts pre-planned and do-able – none of these crazy plans to sew a 20 hour item in 5 hours anymore – No Stress!
So, how about we call this Terrific Tuesday – which will be a new series inserted as needed when Made by Me Monday doesn’t work out due to sickness, the kids’ sickness, other work, random and varied other things I can think of! Today’s Terrific Tuesday is brought to you by my oldest – who unfortunately was not feeling great yesterday and has now given it (an achy cold) to me. (We were just a tad busier than usual yesterday because of it!) My husband let me sleep in this morning so I have a bit of energy this afternoon. Thankfully that means I won’t have to think up something like Wonderful Wednesday to cover tomorrow!
I’ve got a super-pinnable graphic for you below that explains how to make the skate guards/soakers for any size skate. They are lined with beach towel scraps I had lying around and the outside is regular quilting cotton. These are really fast to put together and the graphic has all of the directions. If you want to have a little more detail, you can check out the written instructions below the photos.
What you need:
- old/new towel, fabric, 1/4″ elastic, safety pin, regular sewing gear
Written Instructions:
- Cut 2 pieces of fabric and 2 pieces towel – each piece is twice the length of the skate blade x double the height of the blade + 1.5″
- Take 1 piece of towel and 1 piece of fabric. Place right sides together, stitch with 1/4″ seam along both long edges.
- Turn so wrong sides are together, stitch both long edges with 1/2″ seam to create elastic casings.
- Insert elastic into casing through one end and over to the other, folding outer (fabric) sides together.
- Pull elastic and tighten to blade length, match short edges, pin.
- Stitch short ends with 1/2″ seam, trim seam allowance to 1/4″, zigzag edges to neaten, turn fabric side out and DONE!
As usual – please email me if you have any questions!
by Sherri Sylvester | Jan 17, 2014
Last Week’s Survey Results:
I love that there is an amazing story to go along with our survey from last week! But first, the results. We asked “What kind of pincushion do you use?” Turns out most of you use a magnetic pincushion! I did not know they were that popular, but can relate as that’s what I prefer as well. It’s so nice to be able to throw your pins in the general direction of the magnet and have them stick! A big thanks to my mom for our question last week.
Image Credit: Louisa Quilts (Used with permission)
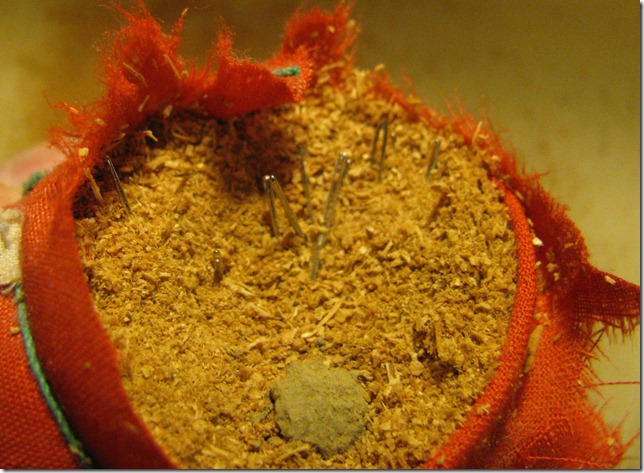
I’d also like to thank Susan Nicol for an interesting story relating to finding things in tomato pincushions! She left a note that connected to a post Louisa from Louisa Quilts wrote over a year ago. She took her mother’s pincushion apart and you’ll never guess how many pins and needles she found! You can read her story here.
Today’s question is brought to you Amy from Friend’s Stitched Together. She has created a very cute tutorial for a Toddler Dinosaur Cape. I love this photo! I can only imagine what is going through his head, is he going to pounce on the tennis ball or not?! You’ll want to pin this one for later – the spikes are cleverly put together – and it’s made of fleece, so it sews up fast! This week’s survey is after the photo, don’t forget to Have YOUR Say! (Want your sewing project or blog featured on Sewing Survey Saturday? Check out how at the bottom of this post!)
Image Credit: Friends Stitched Together (Used with Permission)
This Week’s Survey:
[polldaddy poll=7725361]
How to get your Sewing Project or Blog featured on Sewing Survey Saturday: Send an email to sherri@threadridinghood.com that includes your sewing related multiple choice question, your name and where you live (if you’d like it included). Please send your question with 3 to 5 multiple choice answers. Also send your blog information including which post you’d like me to link up to if you are featured! If you do not blog I would love to post a photo of one of your recent projects, so please send it along with your question. (Note: I may also feature a photo from your blog post (if applicable), if you do not want a linked photo please let me know in your email.)
by Sherri Sylvester | Jan 16, 2014
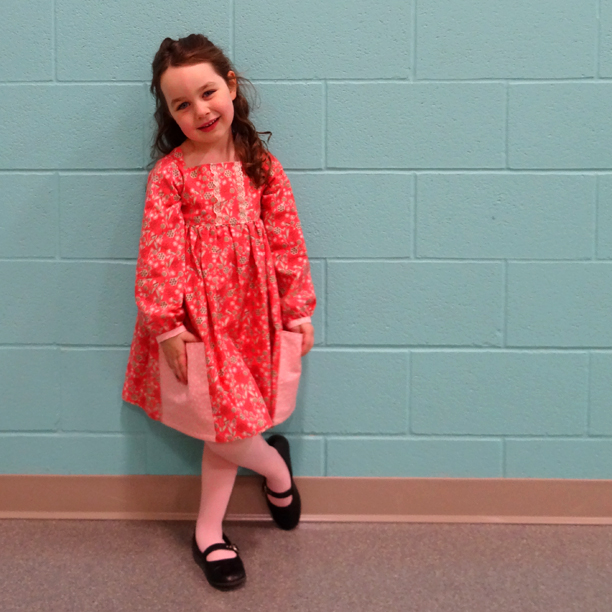
As I was finding out that Project Run and Play was on again yesterday (and simultaneously finding out that I have at least 200 unread blog posts in my Bloglovin’ feed!) I was inspired to make this little dress by loosely using the PR&P theme “Winter Wonderland”. I have been wanting to make something with lace for quite a while, but I could never find the soft, stretchable lace I was looking for. Thankfully I was able to get some in Texas (from Hobby Lobby) while I was on vacation – and I think I should likely have bought more than 1 yard. It is really amazing to sew with!
I started drafting with the dolman sleeve Skipper Top from Sew Much Ado. From there things went off in their own direction! I added 3/4 sleeves, a front pleat and made it into an A-Line dress with a (barely there) high-low hem. I like that it is a bit Valentines’ themed, but could be worn any time of the year.
Details?! The sleeves are shorter out of necessity. I should have remembered that I made these shorts twice because the gray knit is not very stretchy and they were too small the first time. Some added width in the bottom of the sleeve would have been good. The front pleat was copied from an adorable dress that my sister-in-law bought for my oldest. It crosses over in the front, which is simple to do, but looks different from the traditional-style pleats I’ve seen lately. I love pleats – they keep the simple lines of the dress, but add that extra “umph” to the design. If you are interested in a tutorial on how to alter a pattern adding the pleat let me know.
From the top, moving on to the bottom of the dress. I ran across this knit heart dress tutorial from Lexi Made on the Sewing Rabbit yesterday as well. She did such a great job on these little dresses, and I got idea for the lace heart on mine from her tutorial. All of the lace in this dress is overlaid and sewn on because thankfully it doesn’t fray much. Though I did fold the shoulder lace under by 1/8″ or so along the straight edge before I sewed it on.
I think I am going to have to eventually make myself a sweater with the same fabric and lace. Different overlay though. I purposely kept the lace away from the front of the dress since that is where most 3-year-old spills happen! The whole thing took about 5 hours – including pattern drafting/cutting and chasing after the aforementioned 3-year-old. Not too shabby, I think.
Are you participating in this season of Project Run and Play? I think I may wait and see if inspiration hits to sew-along again this time. We’ll find out!
by Sherri Sylvester | Jan 15, 2014
If you are reading this, think back to 15 days ago – remember what you were doing? Now, pretend it’s still 15 days ago and keep reading – yes, really! I’ve been planning so much around here it’s been all admin and no fun sewing. So I thought I would post my semi-overdue (unless you are still pretending) post on 2013.
I have been reading a lot of “Top 5” or “Top 10” posts, some are based on the most popular from the previous year and some are the blogger’s chosen favorites. I am torn, because some of my favorite projects are not the most popular – but I want to highlight reality… so… I’m going to do 2! So as not to subject you to a novel, I am going to choose to do a “Top 5” version of each.
Before I continue, I would like to say a huge THANK YOU to YOU. Without you here to read about my projects and comment on everything I would not have nearly as much fun as I do! I truly appreciate each and every one of you for making this blog possible.
TOP 5 POSTS (by the book)
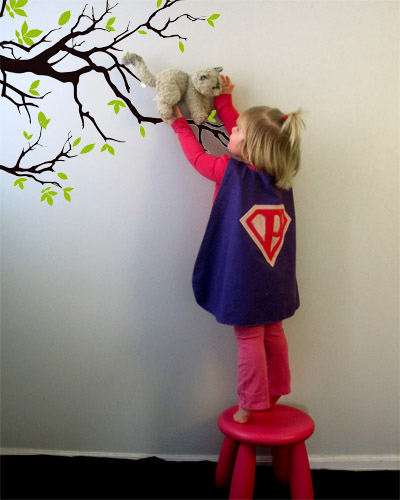
Super Hero Cape (free pattern + tutorial)
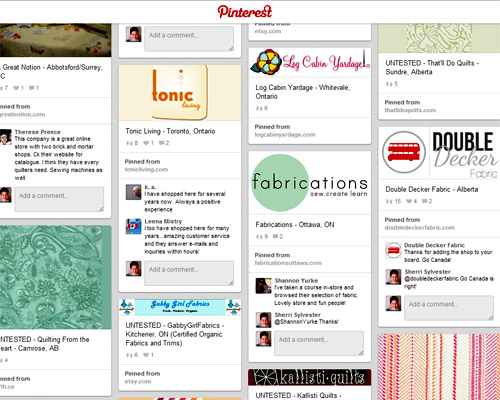
Canadian Online Fabric Stores Pinterest Board
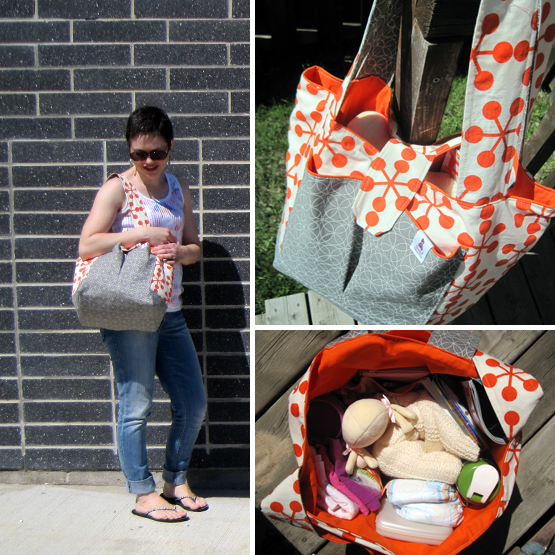
Diaper/Tote Bag (free tutorial)
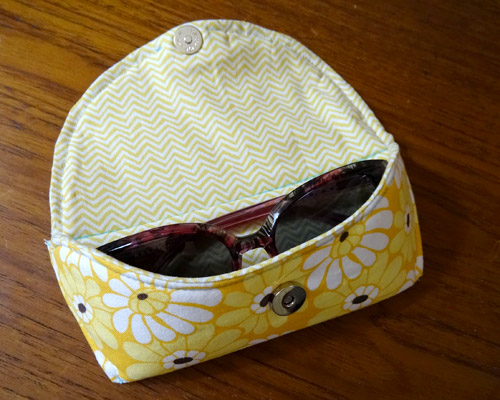
Sunny Glasses Case (free pattern + tutorial)
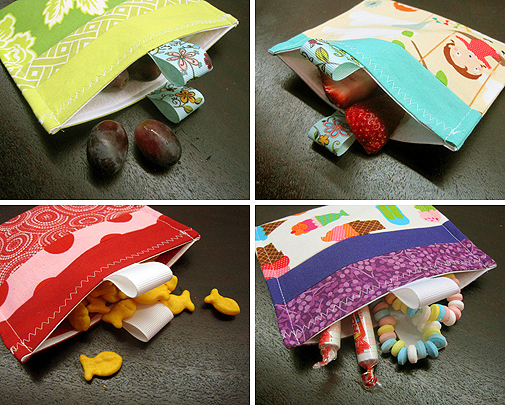
Reusable Snack Bags
My FAVE FIVE (totally random)
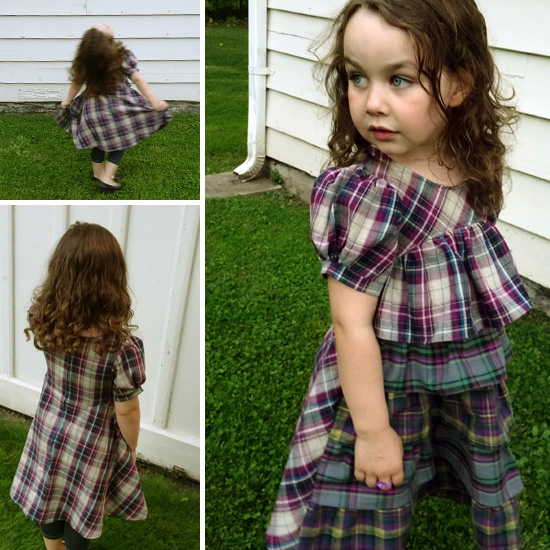
Ruffled Plaid Madness Dress
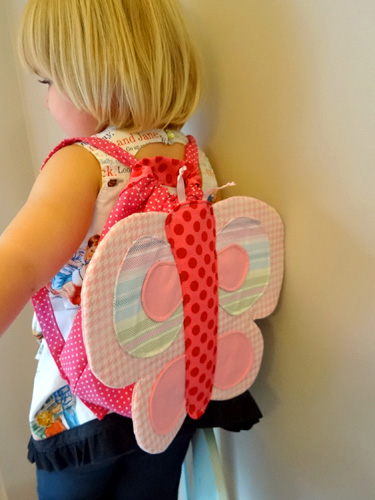
Butterfly Backpack (pattern to be released by Spring 2014)
Scallop Edge Basket
Twirly Scirocco (tutorial)
Long Sleeved Sally Dress
Wow, what a lot of memories are tied to these projects! Going through them it was so hard to choose only 5 of my favorites. But looking back at the list, it was an amazing year and I’m excited to start another. This year you will be seeing more of me – I’m going to do my best to provide you with more great projects and helpful information. I’m going to tell it like it is a bit more. I want to get to know you better, and to help us use the amazing ability we have to share information with each other – so we can gain and share our knowledge for the benefit of our community.
I’ve started by creating a way for you to share your blogs and projects on Thread Riding Hood, and I’ve got another surprise coming up in the next few weeks. See you soon. And again, thank you so much for reading! You are deeply appreciated.